Take your first test payment
Make a test API key, trade it for an access token, create a hosted checkout session, pay it with a test card, receive the payment.success webhook and check the payment over the API, with links to each call's examples in the API reference.
Overview
This guide takes you from nothing to a paid test checkout in about ten minutes. You use a test key, so no real money moves, and it works before your business is approved.
What you build:
- Your server trades its API key and secret for an access token.
- It creates a checkout session for an order and gets back a
url. - Your customer opens that
url, a checkout hosted by Vezmo, and pays. - Vezmo sends a
payment.successevent to your webhook endpoint, and you confirm the payment over the API.
Every request goes to one base URL, in test and in live: https://api.vezmo.com/api/v1. The key you use decides the
mode. Each step links to its call in the API reference, which has the request and
response examples.
You need: a Vezmo account with VezmoPay, and an https address that can receive a POST (for the webhook). On your own computer, use an https tunnel.
1. Get a test key
Open Developers
In the dashboard, go to Payments › VezmoPay, then Developers in VezmoPay's menu. The API keys tab opens.
Generate a test key
Under Test keys, select Generate test key (Generate key once you have one). Give the key a Key name, check the Expires field, then select Generate key.
Enter the emailed code
We email you a 6-digit code. Type it in: every new API key needs one.
Save the key and the secret
The key (
vzm_and 16 characters) and the secret (32 characters) are shown once. Store them on your server, for example asVEZMO_API_KEYandVEZMO_API_SECRET, then select I've saved them — done.
2. Add a webhook endpoint
Add an endpoint
In Developers, open the Webhooks tab and select Add endpoint.
Enter your address and pick events
Enter your Endpoint URL (it must start with
https://). Under Select Events, tickpayment.successandpayment.failed. Select Create Webhook and type the code we email you.Save the signing secret
The signing secret (
whsec_and 64 characters) is shown once. Store it on your server, for example asVEZMO_WEBHOOK_SECRET. Your handler uses it to check that each event really came from Vezmo.
For this test, a handler that logs the body and answers 200 is enough. How to check that an event really came from
Vezmo is in Webhooks.
3. Get an access token
Send the key and the secret to POST /merchant/api-auth/login, in the x-api-key and x-api-secret headers, with no
body. The answer holds two tokens: the access token (data.accessToken.token) and a refresh token. The access token
lasts 30 minutes: reuse it for every call until then.
The request and the response, with examples: Create an access token.
4. Create a checkout session
Create the session for your order with POST /merchant/secure-payments, sending the access token as
Authorization: Bearer and the token. In the body, send the order's title, amount and currency, the customer in
client (name, email, country and postal code), and the successUrl and cancelUrl to send the customer back to. The
amount is set here, on your server, and the customer can't change it.
The answer holds the payment in data.payment (its id, and the status INITIATED) and the checkout in
data.securePayment (its url, and when it expires). Here amount comes back as a string; in events and in the
Payments API it is a number.
Save data.payment.id with your order. The same id comes back on the redirect, in the webhook and from the Payments
API, and it is how you match a payment to your order: the session has no field for your own order number.
Every field, with request and response examples: Secure payments.
5. Pay with a test card
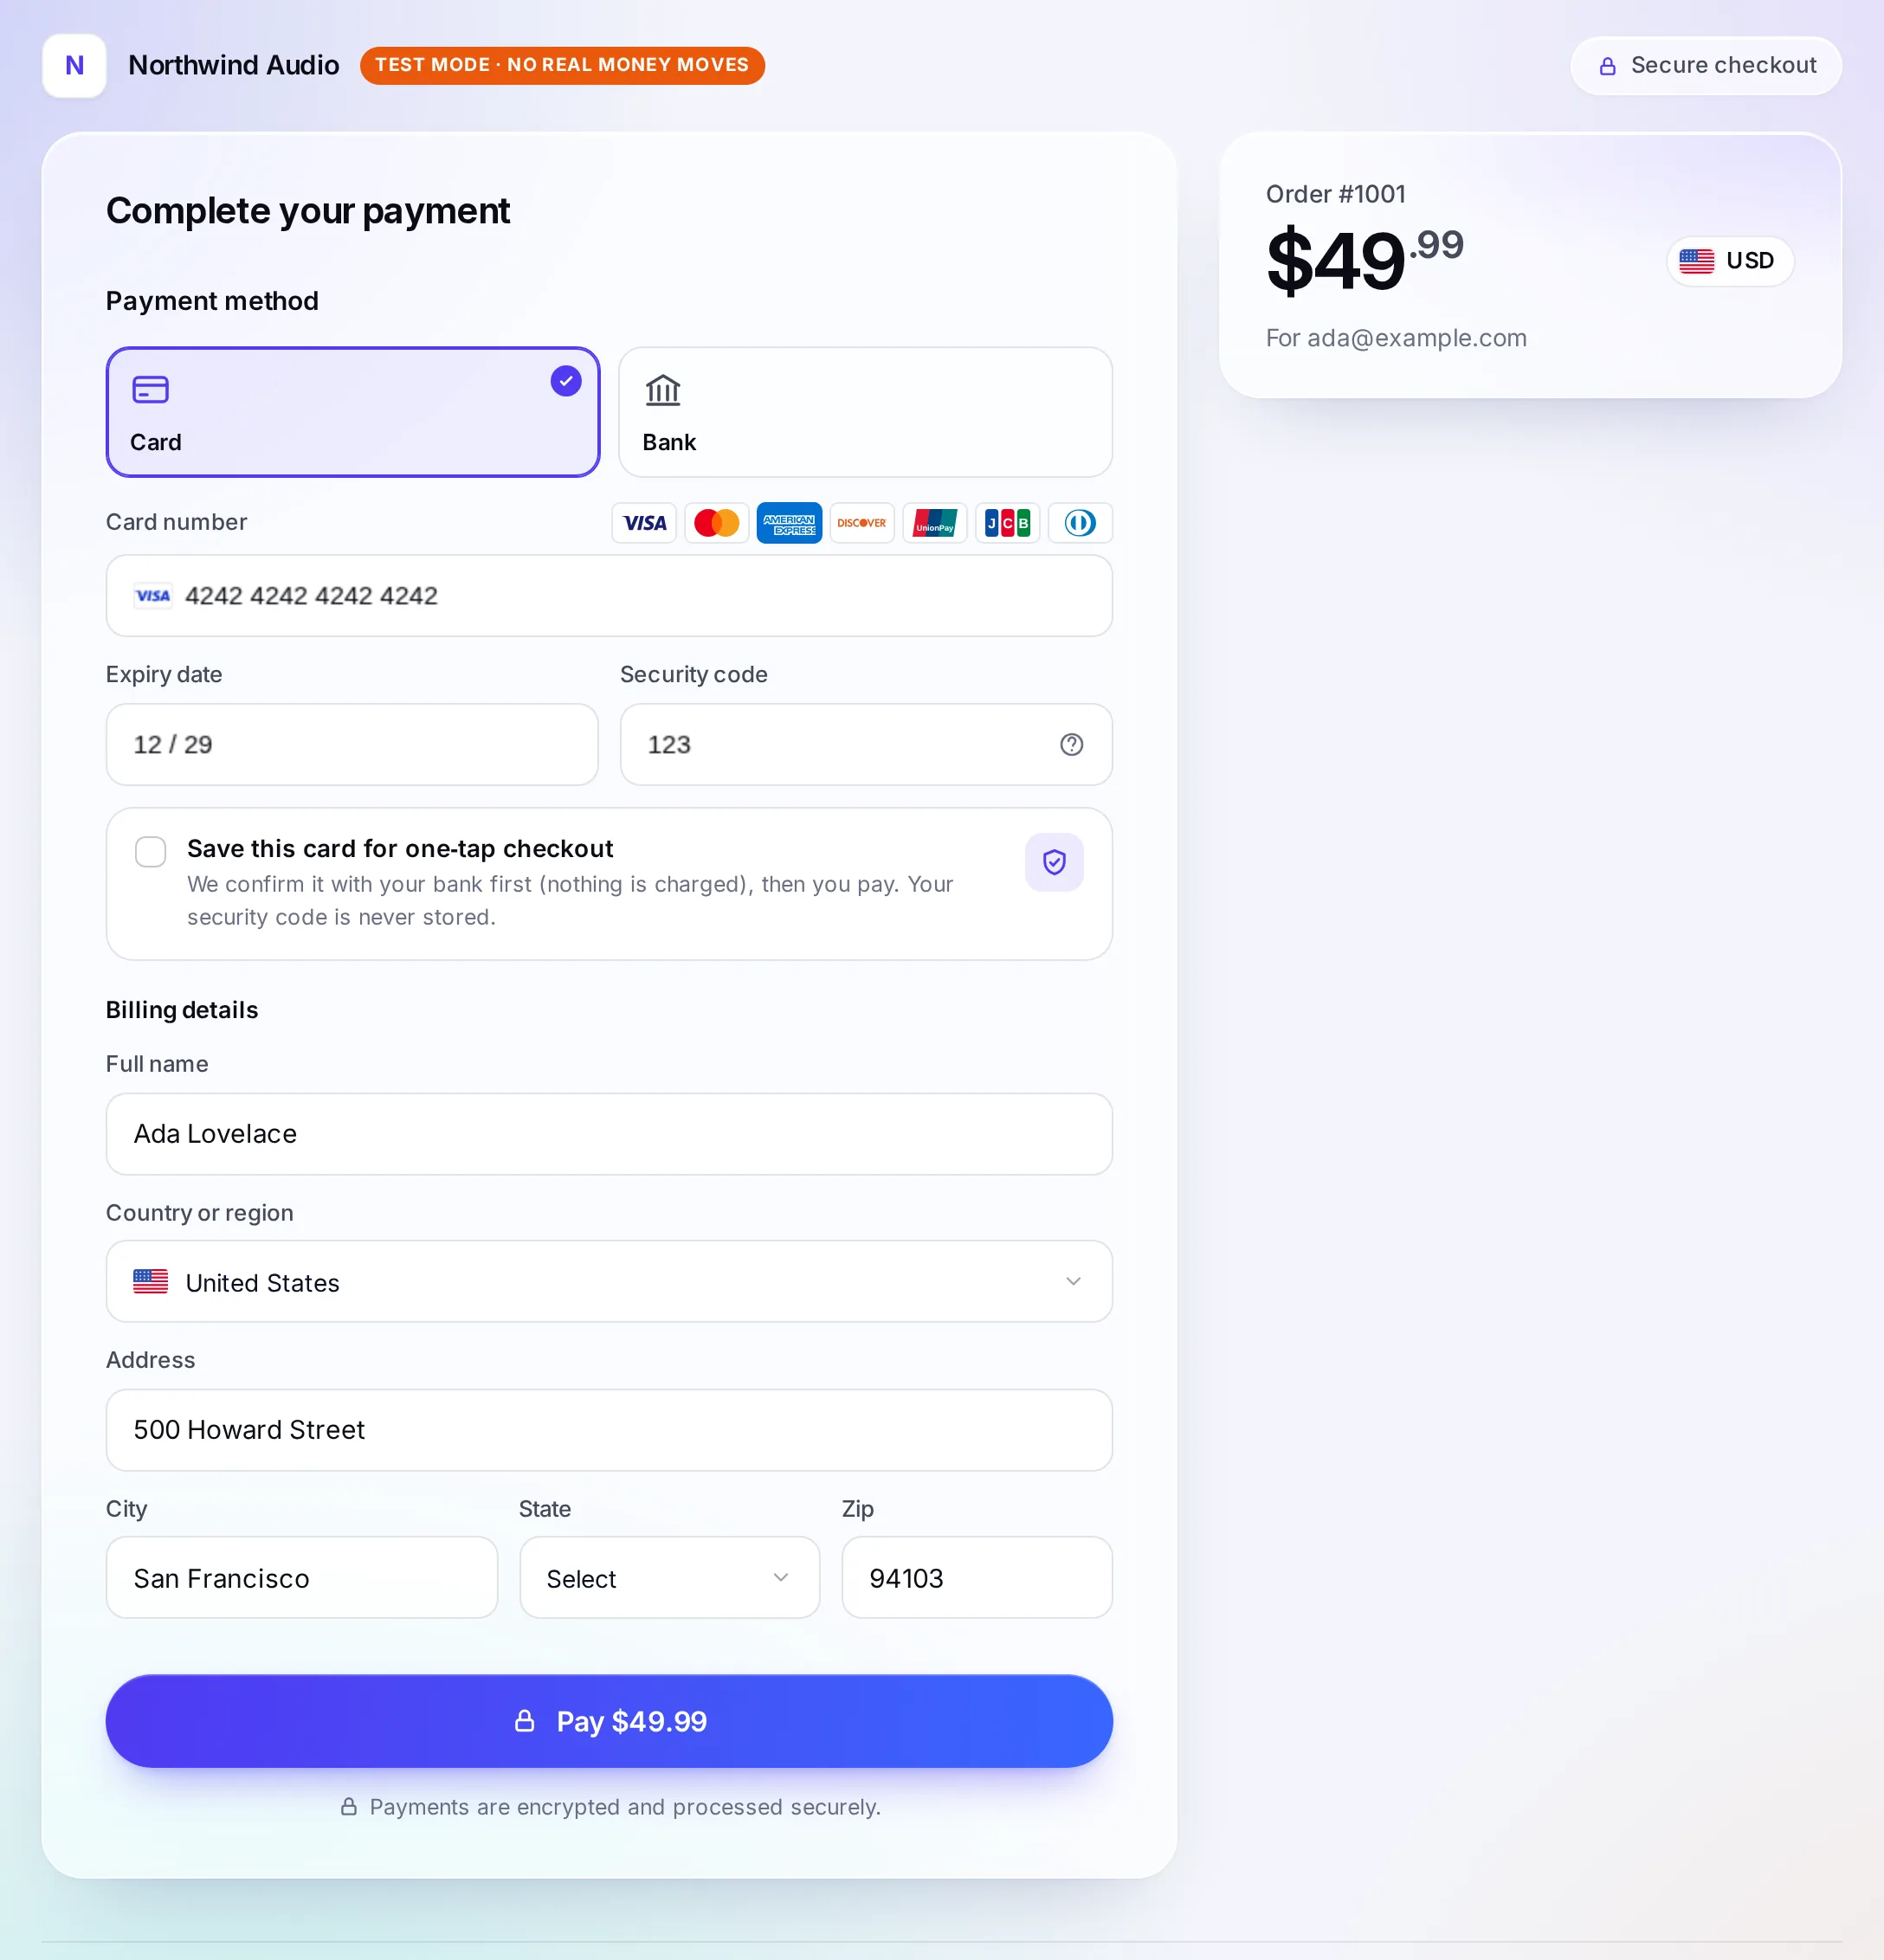
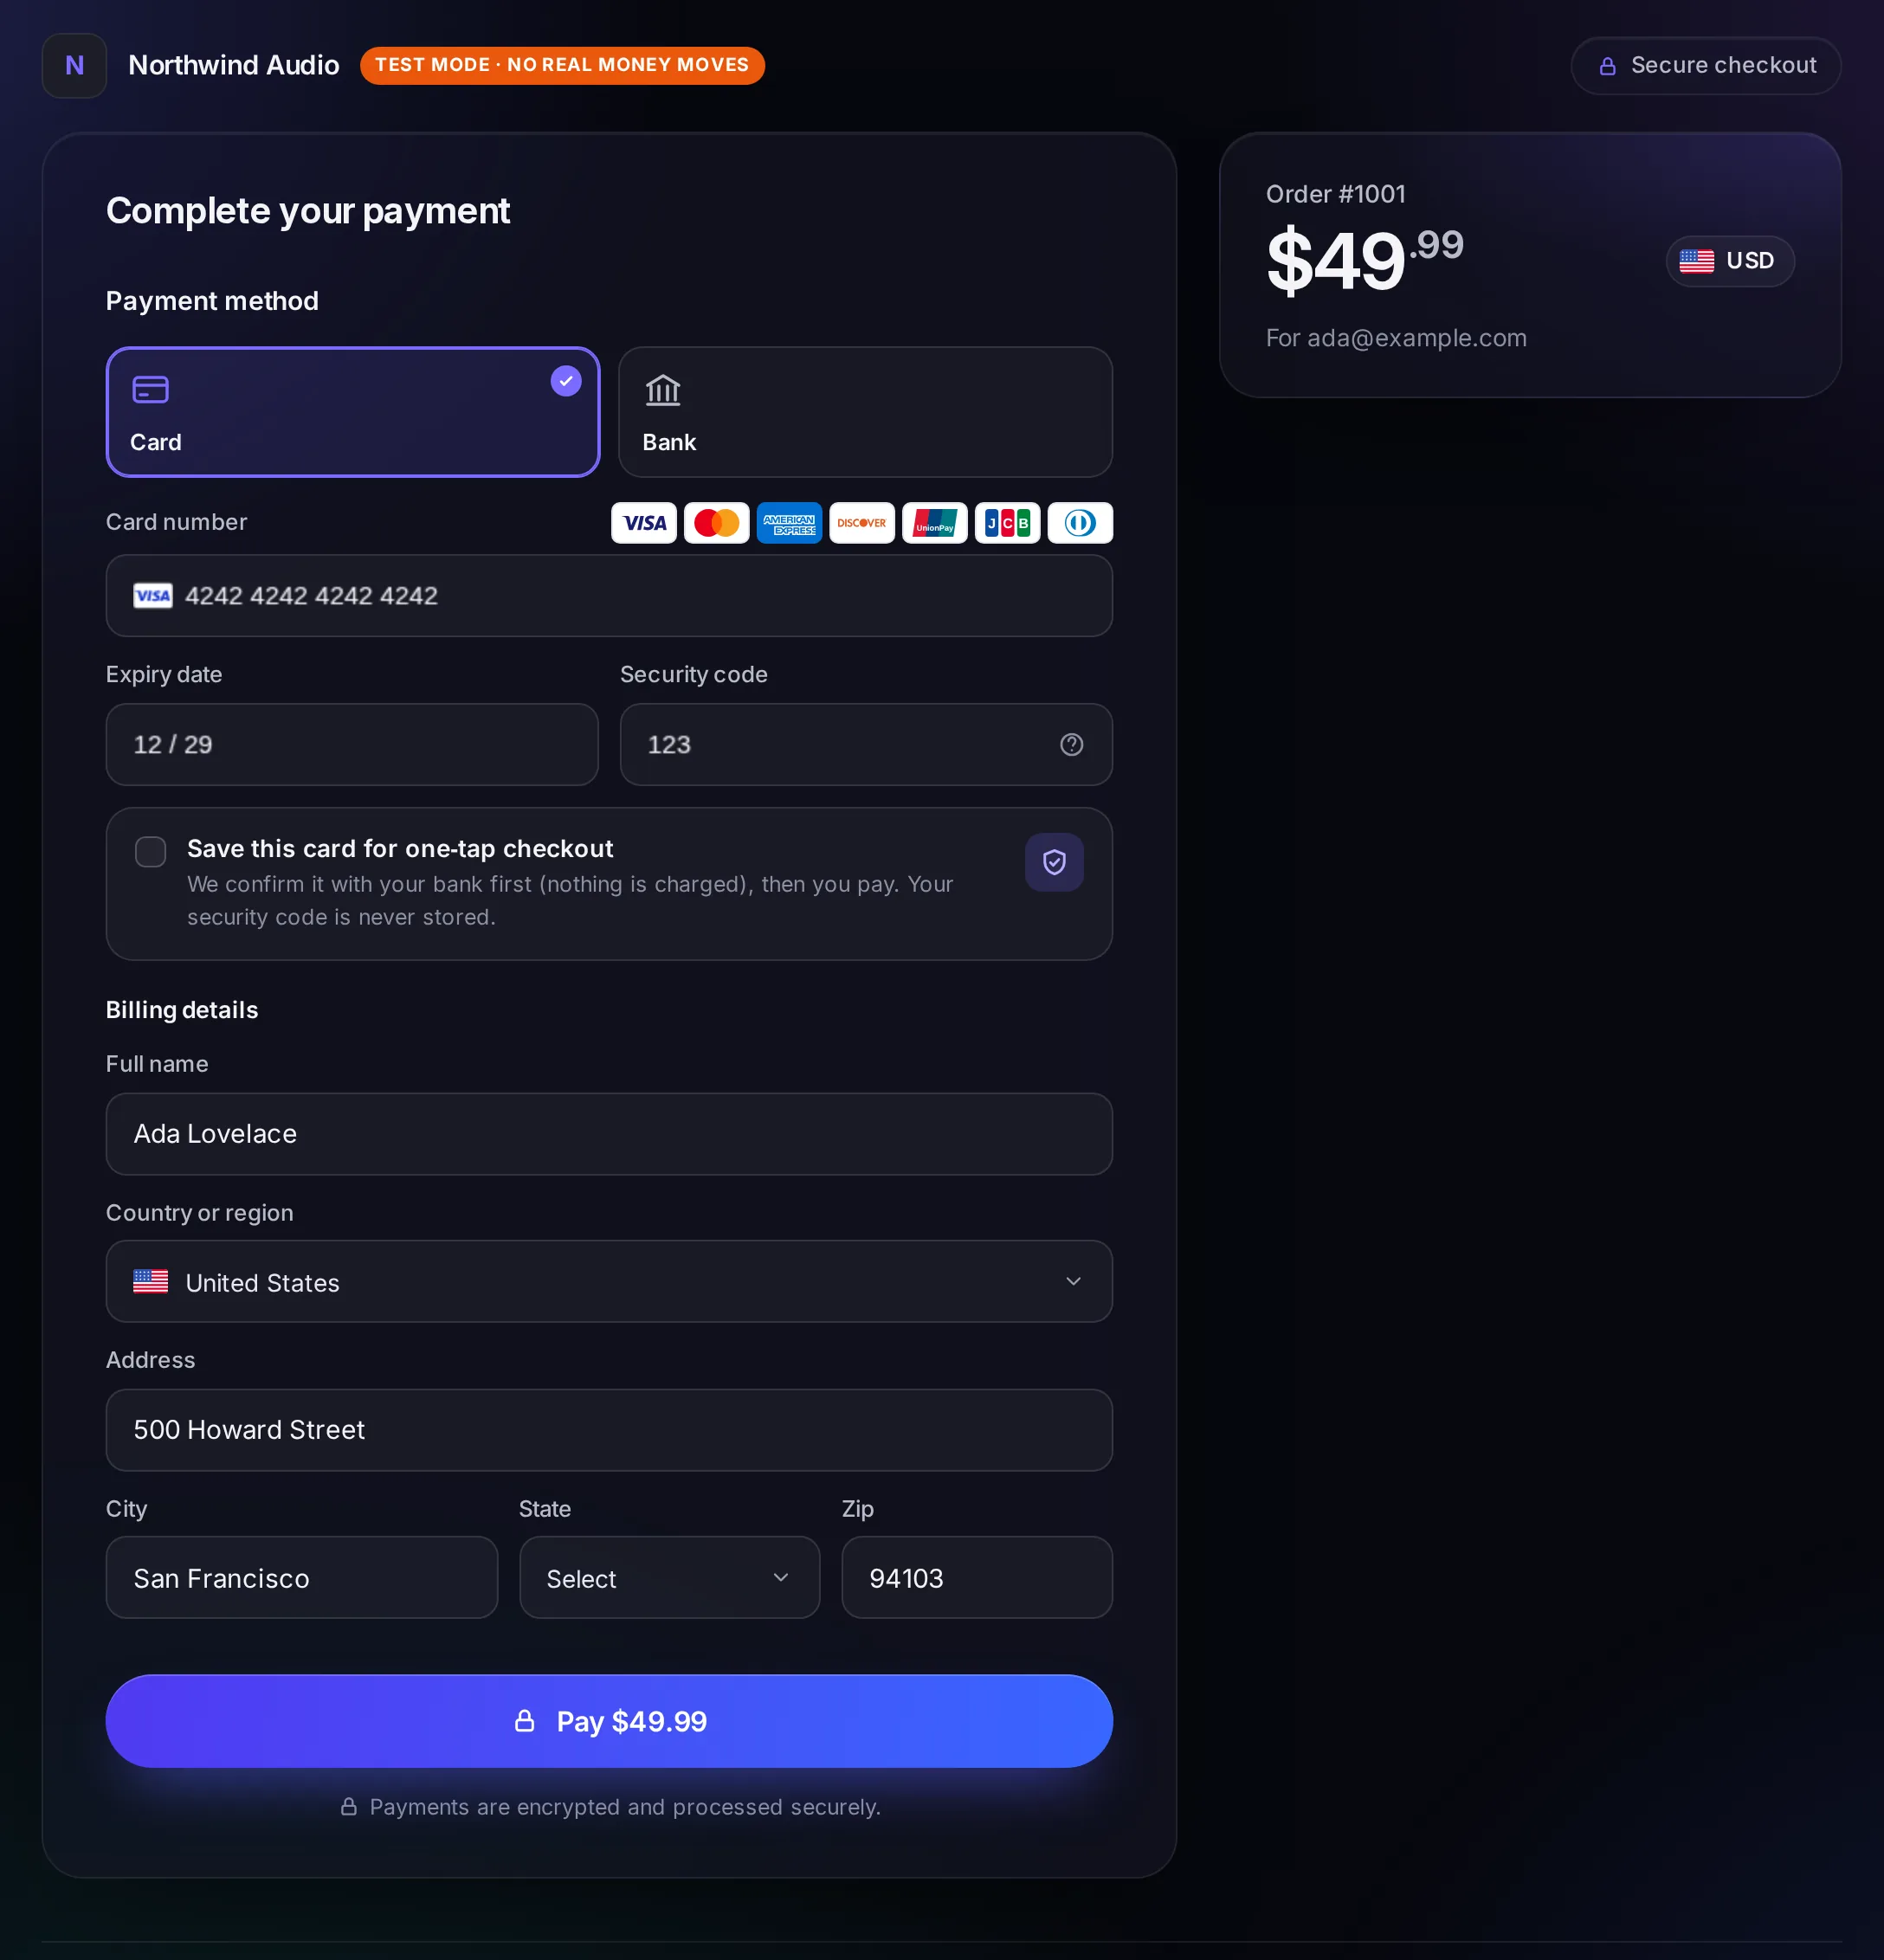
Open the url in a browser. It is your checkout, hosted by Vezmo: your business name, the order and the amount, and an
orange Test mode · no real money moves mark. The customer's name, country and ZIP code come from client.
Enter the test card
Card number 4242 4242 4242 4242, any future expiry date, any security code.
Finish the billing details
Fill in the rest of the billing address: street, city and state.
Pay
Select Pay $49.99.
When the payment goes through, the checkout sends the customer to your successUrl, with paymentId (the payment id)
and status=success added to the address.
6. Receive payment.success
A few seconds later, your endpoint receives a POST with the event. Its X-Webhook-Event header names the event, and
X-Webhook-Signature-V2 signs it. The body holds the event's id, its name in event, and the payment in data:
paymentId, amount, currency, status, method and livemode. A full example is in the
Webhooks reference.
data.paymentIdis the id you saved in step 4.livemodeisfalse: a test payment. Never ship a real order on an event where it isfalse.- Answer with any
2xxstatus within 5 seconds, or we try again later.
Nothing arrived? Open Developers › Webhooks: Deliveries lists every attempt with your server's answer.
7. Check the payment
Read the payment with GET /merchant/payment/:id, using the id you saved in step 4. The answer holds its state,
livemode, amount, currency, the card's brand and last 4 digits, and the customer. Request and response examples:
Payments.
Branch on state. A session nobody has paid yet reads pending; a paid one reads succeeded; a declined one reads
failed. Bank payments take a few business days and read processing until they settle; bank details typed in by
hand read awaiting_verification first, until the customer confirms the test deposits. The full list is in the
Payments reference.
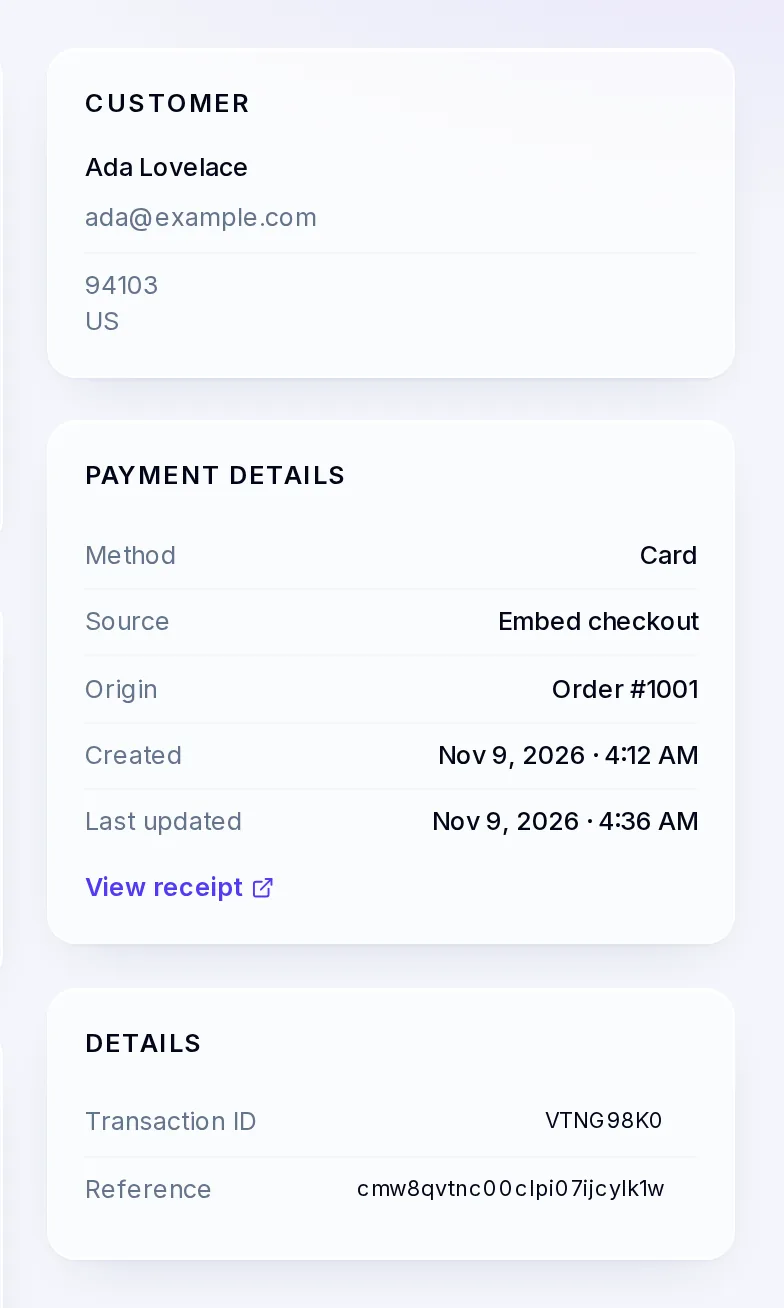
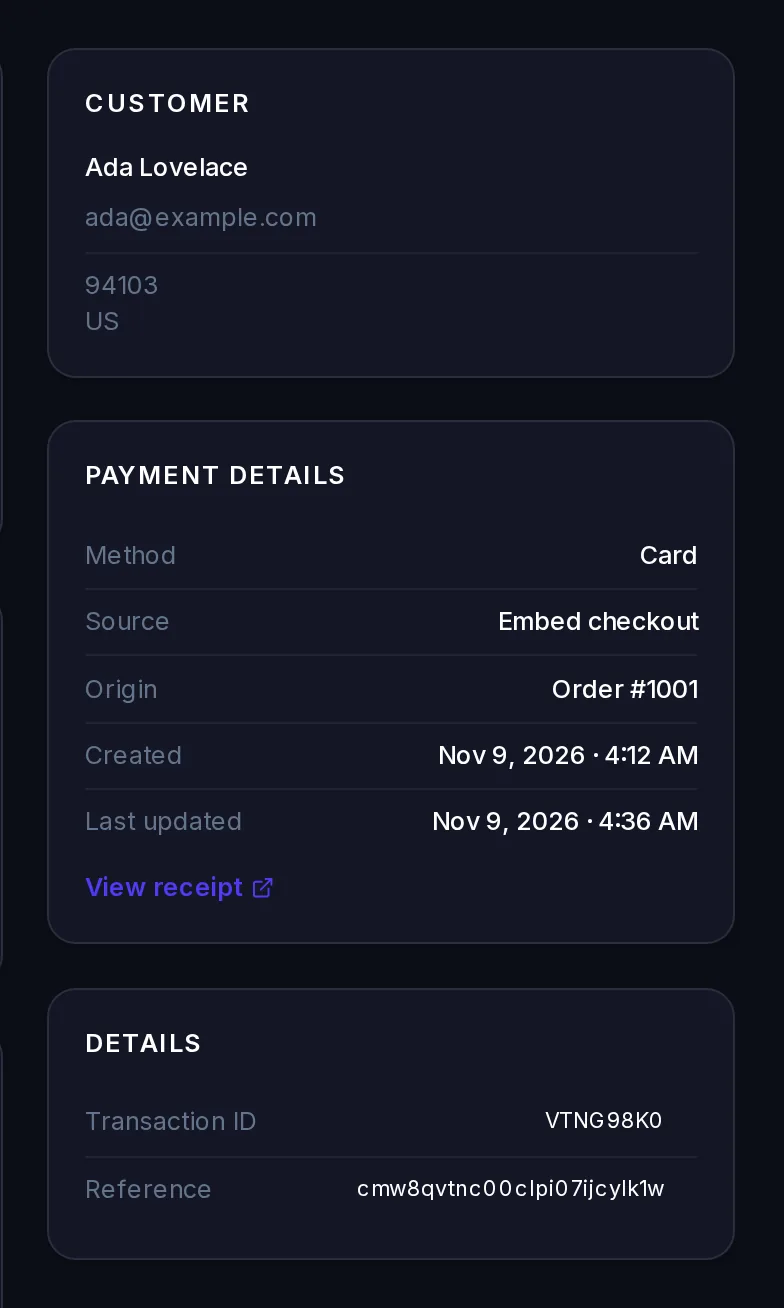
To see the payment in the dashboard, turn on Test mode in VezmoPay and open Transactions.
Next steps
- Hosted checkout: every session field, redirects, expiry and fulfilling orders.
- Webhooks: all 43 events, the signature check, retries and recovering missed events.
- Test mode for developers: test cards for 3D Secure, declines, disputes and bank payments.
- Go-live checklist: what to change before you take real payments.
Questions
Login answers 401 "API secret does not match"
The key is right but the secret isn't. Check for a missing character or a space. If the secret is lost, generate a new key: it replaces the old one at once.
The checkout says "The sandbox account is still being prepared"
Your business's test setup isn't ready yet. Wait a moment and open the url again.
Creating a session answers 403
With a live key, sessions open only while VezmoPay is approved for your business. A test key always works. Other 403 answers are in API keys and access tokens.
Can I make more test sessions?
Yes. Each new session has its own url and payment id. Sign-in allows 5 requests a minute from one IP
address: if it answers 429, wait a minute.
Facts checked against the product on 9 Nov 2026.
Was this page helpful?
Developers
Take payments from your own site or app with the Vezmo REST API, hosted checkout, webhooks and SDKs.
API keys and access tokens
Test and live API keys, generating a key with the emailed code, the expiry date, one active key per teammate per mode, replacing and revoking keys, permissions, access and refresh tokens, sign-in limits and what each 401 or 403 means.