WooCommerce
Take payments in a WooCommerce store with the VezmoPay plugin, covering installing it, Connect with VezmoPay (and the API key it replaces), the three integration modes, test and live, manual setup, how orders are completed, refunds, and what the plugin doesn't support yet.
Overview
The VezmoPay plugin adds cards, US bank payments, Apple Pay and Google Pay to a WooCommerce store, with no code. The payment form is always Vezmo's, so card numbers never reach your store's server or its pages' code.
| Needs | WordPress 6.0 or later, WooCommerce 8.0 or later, PHP 7.4 or later |
| Checkout | The classic checkout and the Cart and Checkout blocks |
| Order storage | Works with High-Performance Order Storage (HPOS) |
| Source and releases | vezmoPay-wooCommerce on GitHub (GPL-2.0-or-later) |
Install the plugin
Download it
Download
vezmopay-woocommerce.zipfrom the latest release on GitHub.Upload it to WordPress
In your WordPress admin, go to Plugins › Add New › Upload Plugin, choose the file, and activate the plugin.
Later versions arrive in your WordPress admin like any other plugin update. Each one is checked against the checksum published with its release before it installs.
Connect your VezmoPay account
Connect fills in every credential for you: you never copy a key or a secret by hand.
Open the plugin's settings
In WordPress, go to WooCommerce › Settings › Payments › VezmoPay. Set Environment to Test.
Select Connect with VezmoPay
You go to your VezmoPay dashboard. Sign in if you're asked to, as the teammate whose key the store should use.
Approve the store
The page names your store, the mode, and what happens next. Select Connect store, then type the code we email you.
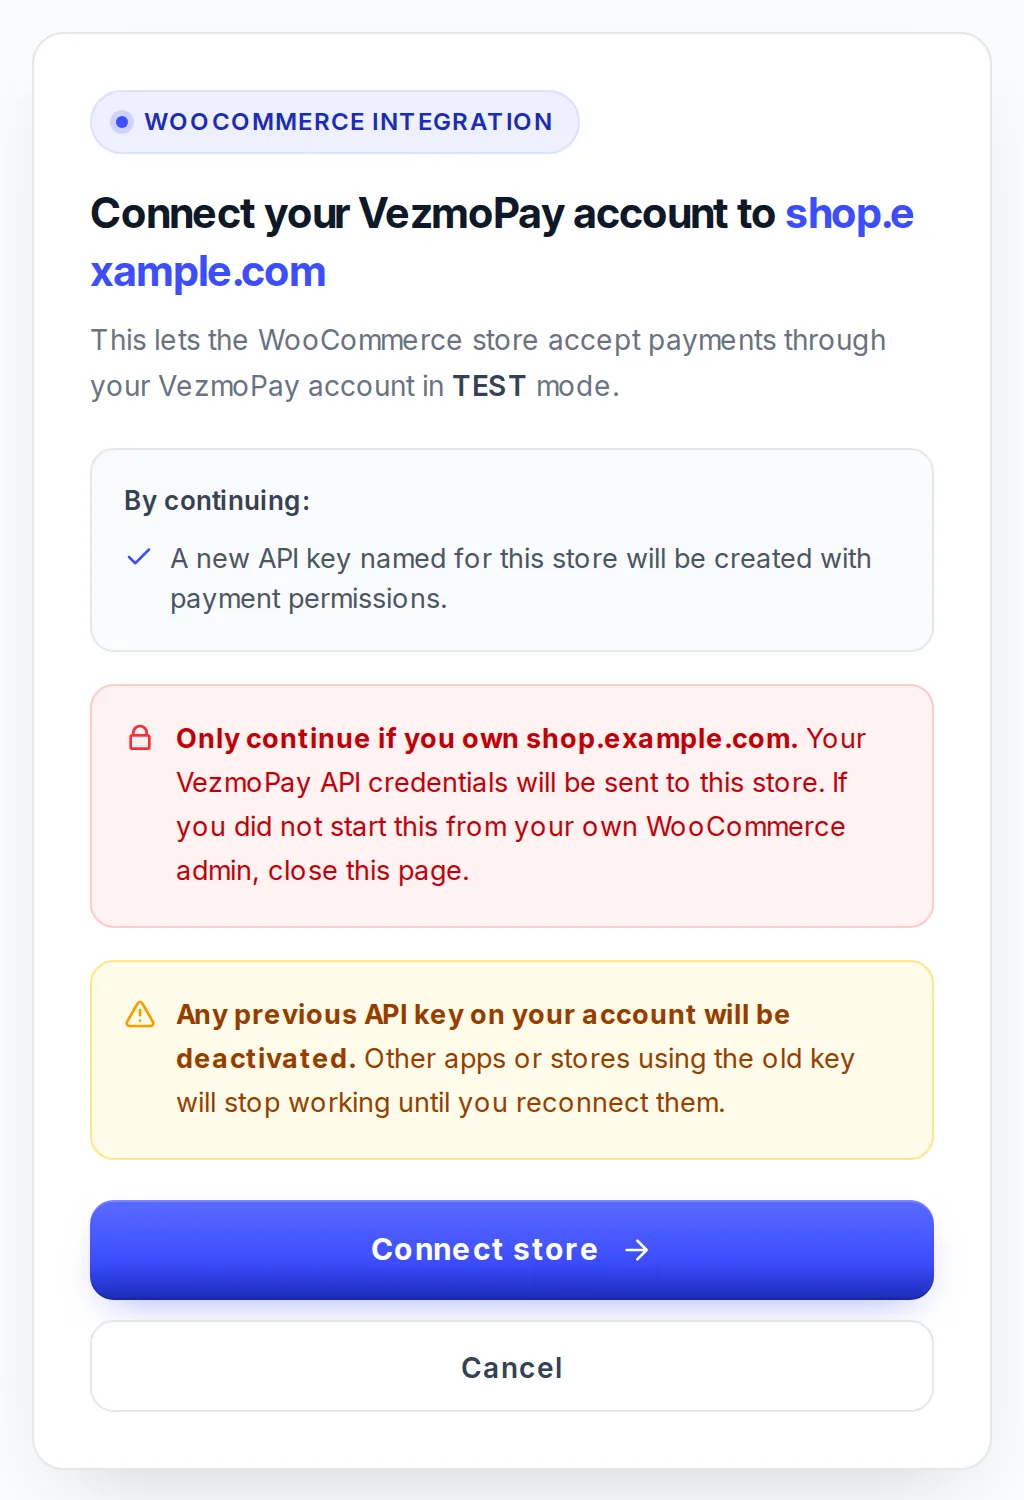
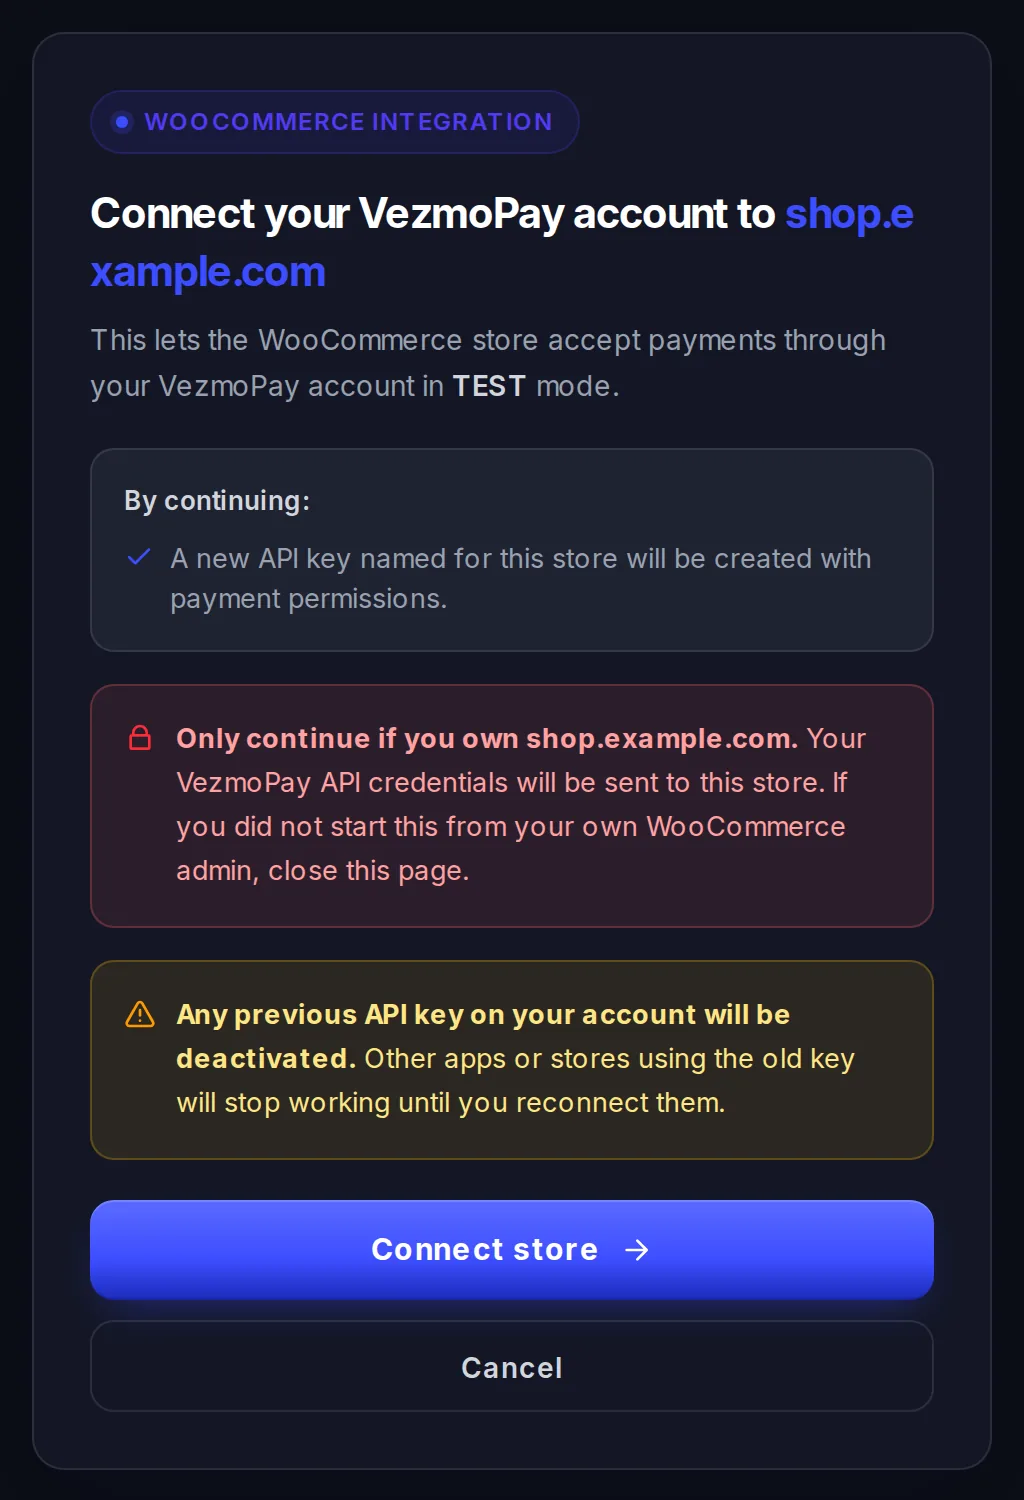
The page where you approve a store. Read the warning about your current key before you connect. Back in your store
You come back to the plugin's settings, connected. Select Test connection to check it.
What Connect does:
- Generates an API key for you, in the mode you chose, named "WooCommerce — " and your store's address. You'll see it under Developers › API keys.
- Adds a webhook endpoint for
payment.successandpayment.failedat your store's address, and saves its signing secret in the plugin. Connecting the same store again replaces that endpoint. - Adds your store to Trusted origins, so the payment form can show on your checkout.
Connect, webhooks and the payment form on your own pages all need a store on https://.
The key acts for the teammate who connected. If that person leaves your team, the store stops taking payments until someone connects it again.
Choose an integration mode
Pick it under Integration mode in the plugin's settings. You can change it any time.
| Mode | Where your customer pays |
|---|---|
| Inline payment element (the default) | On your store's pay page, in Vezmo's payment form, which sizes itself and reports the payment. Built on the embedded checkout. |
| Secure iframe | On your store's pay page, in Vezmo's payment form in a frame. The plugin checks the payment until it is done. |
| Hosted checkout | On a Vezmo checkout page: the store sends the customer to a payment link for the order. |
- The inline mode falls back to the frame on its own if the script can't load.
- Until your store is in Trusted origins, the inline and frame modes send the customer to Vezmo's secure page to pay, never to an empty frame. Connect adds it for you.
- If the hosted checkout's link can't take payments yet (VezmoPay isn't approved for your business), the customer stays on your checkout and sees an error.
Checkout appearance sets the payment form's light or dark look, or follows your customer's device, in the inline and frame modes. Transaction label names the store on its payments in Transactions (as Origin), so a business with several stores can tell them apart. Your customers never see it.
Test, then go live
In test mode, pay with the test cards inside Vezmo's form: 4242 4242 4242 4242 succeeds, 4000 0000 0000 3220 asks
for 3D Secure, and 4000 0000 0000 0002 is declined. Test orders show in VezmoPay with Test mode on. More test
values: Test mode for developers.
To go live:
- VezmoPay is approved for your business.
- In the plugin, set Environment to Live and select Connect with VezmoPay again (this generates your live key, so it turns off your current live key), or paste a live key you generated.
- Select Test connection, then place a small real order.
Set it up by hand
If you'd rather not use Connect, do it in Payments › VezmoPay › Developers:
- API keys: generate a key of the mode you need. Every new key has the permissions the plugin needs. Paste the key and the secret into the plugin's Test API key and Test API secret (or the live ones), and select Test connection. Generating it replaces your current key of that mode, as above.
- Webhooks: add an endpoint at your store's address followed by
/wp-json/vezmopay/v1/webhook, with the eventspayment.successandpayment.failed, and paste its signing secret into the plugin's Webhook secret. Without a secret the plugin refuses every delivery, and orders complete more slowly, from its own checks. See Webhooks. - Trusted origins (the inline and frame modes): add your store's origin, like
https://yourstore.com. See Embedded checkout.
To keep the key and the secret out of the database, the plugin also reads them from your wp-config.php, in the
constants VEZMOPAY_TEST_API_KEY, VEZMOPAY_TEST_API_SECRET, VEZMOPAY_LIVE_API_KEY and VEZMOPAY_LIVE_API_SECRET.
They win over what is saved in the settings.
How orders are completed
The plugin never takes a browser's or a webhook's word for a payment: before it changes an order, it reads the payment from the Vezmo API.
| The payment | The WooCommerce order |
|---|---|
| Succeeded | Processing or Completed, with the transaction ID |
| A bank payment that is still settling | On hold, until it settles |
| Failed | Failed, with an order note |
| Refunded | Refunded |
| The amount differs from the order's total | On hold. It is never completed on its own. |
A missed message can't leave an order stuck: the webhook, a check every five minutes, and the order action Check VezmoPay payment status each settle orders on their own. Creating a payment uses an idempotency key, so a refresh or a double click never charges twice.
Refunds
Refund from VezmoPay: open the payment in Transactions and select Refund (see Refund a payment). WooCommerce's own refund button can't do it: it answers with a message saying to refund in VezmoPay. The order is marked refunded the next time the plugin checks the payment.
Not supported yet
- Zero-decimal currencies (JPY, KRW, VND and others): in a store priced in one of them, VezmoPay hides itself at checkout.
- Saved cards, WooCommerce Subscriptions and Pre-Orders.
- Authorize now, capture later: every payment is taken when the customer pays.
Questions
The payment form doesn't show on my checkout
Your store isn't in Trusted origins yet, so customers are sent to Vezmo's secure page instead. Connect again, or add the store's origin by hand.
Where are the plugin's logs?
Turn on Debug logging in the plugin, then open WooCommerce › Status › Logs and choose the source vezmopay.
Keys, tokens and secrets are hidden in the logs.
Can I use the plugin's VezmoPay account settings?
The plugin shows the same payment method and 3D Secure switches as VezmoPay. A change there applies to everything you charge with (this store, payment links, invoices) at once. Changing them needs a live key in the plugin: a test key can read them but not change them.
Related
Facts checked against the product on 9 Nov 2026.
Was this page helpful?
Embedded checkout and card fields
Take a payment inside your own page, with Vezmo's embedded checkout (vezmo.js) or with card fields you place in your own form (vezmo-elements.js), covering trusted origins, the client token, browser events, wallets, pay-later methods that finish outside the frame, appearance and knowing the result.
Errors, retries and idempotency
How the Vezmo API reports errors, covering the error body, requestId and X-Request-Id, what each status means, the error codes by area, which calls take an Idempotency-Key and how it behaves, when and how to retry, two GET routes not to repeat, and paging through lists with page or cursor.