Your team and roles
Invite people to work in your business, choose exactly what each one can do with roles and permissions, change or remove access, follow the invitations, see what everyone did in the activity log, and how the account holder fits in.
Overview
Each person who works in your business has their own sign-in. What they can see and do depends on the access you give them: a role, which bundles permissions under a name such as "Bookkeeper", and any extra permissions on top.
Everything about your team is in Settings › Team, in four tabs: Members, Roles, Invitations and Activity. When your plan has a team limit, the meter at the top shows how many of its team members you're using: everyone on the team plus the invitations still open. How many people your plan includes is on Plans and billing.
The account holder
The account holder is the person who signed the business up. Their row in Members is marked Account holder.
- No one on the team can change, deactivate or remove the account holder.
- No one can be given more access than the account holder has.
- The account holder can't be handed to someone else from the dashboard.
Members
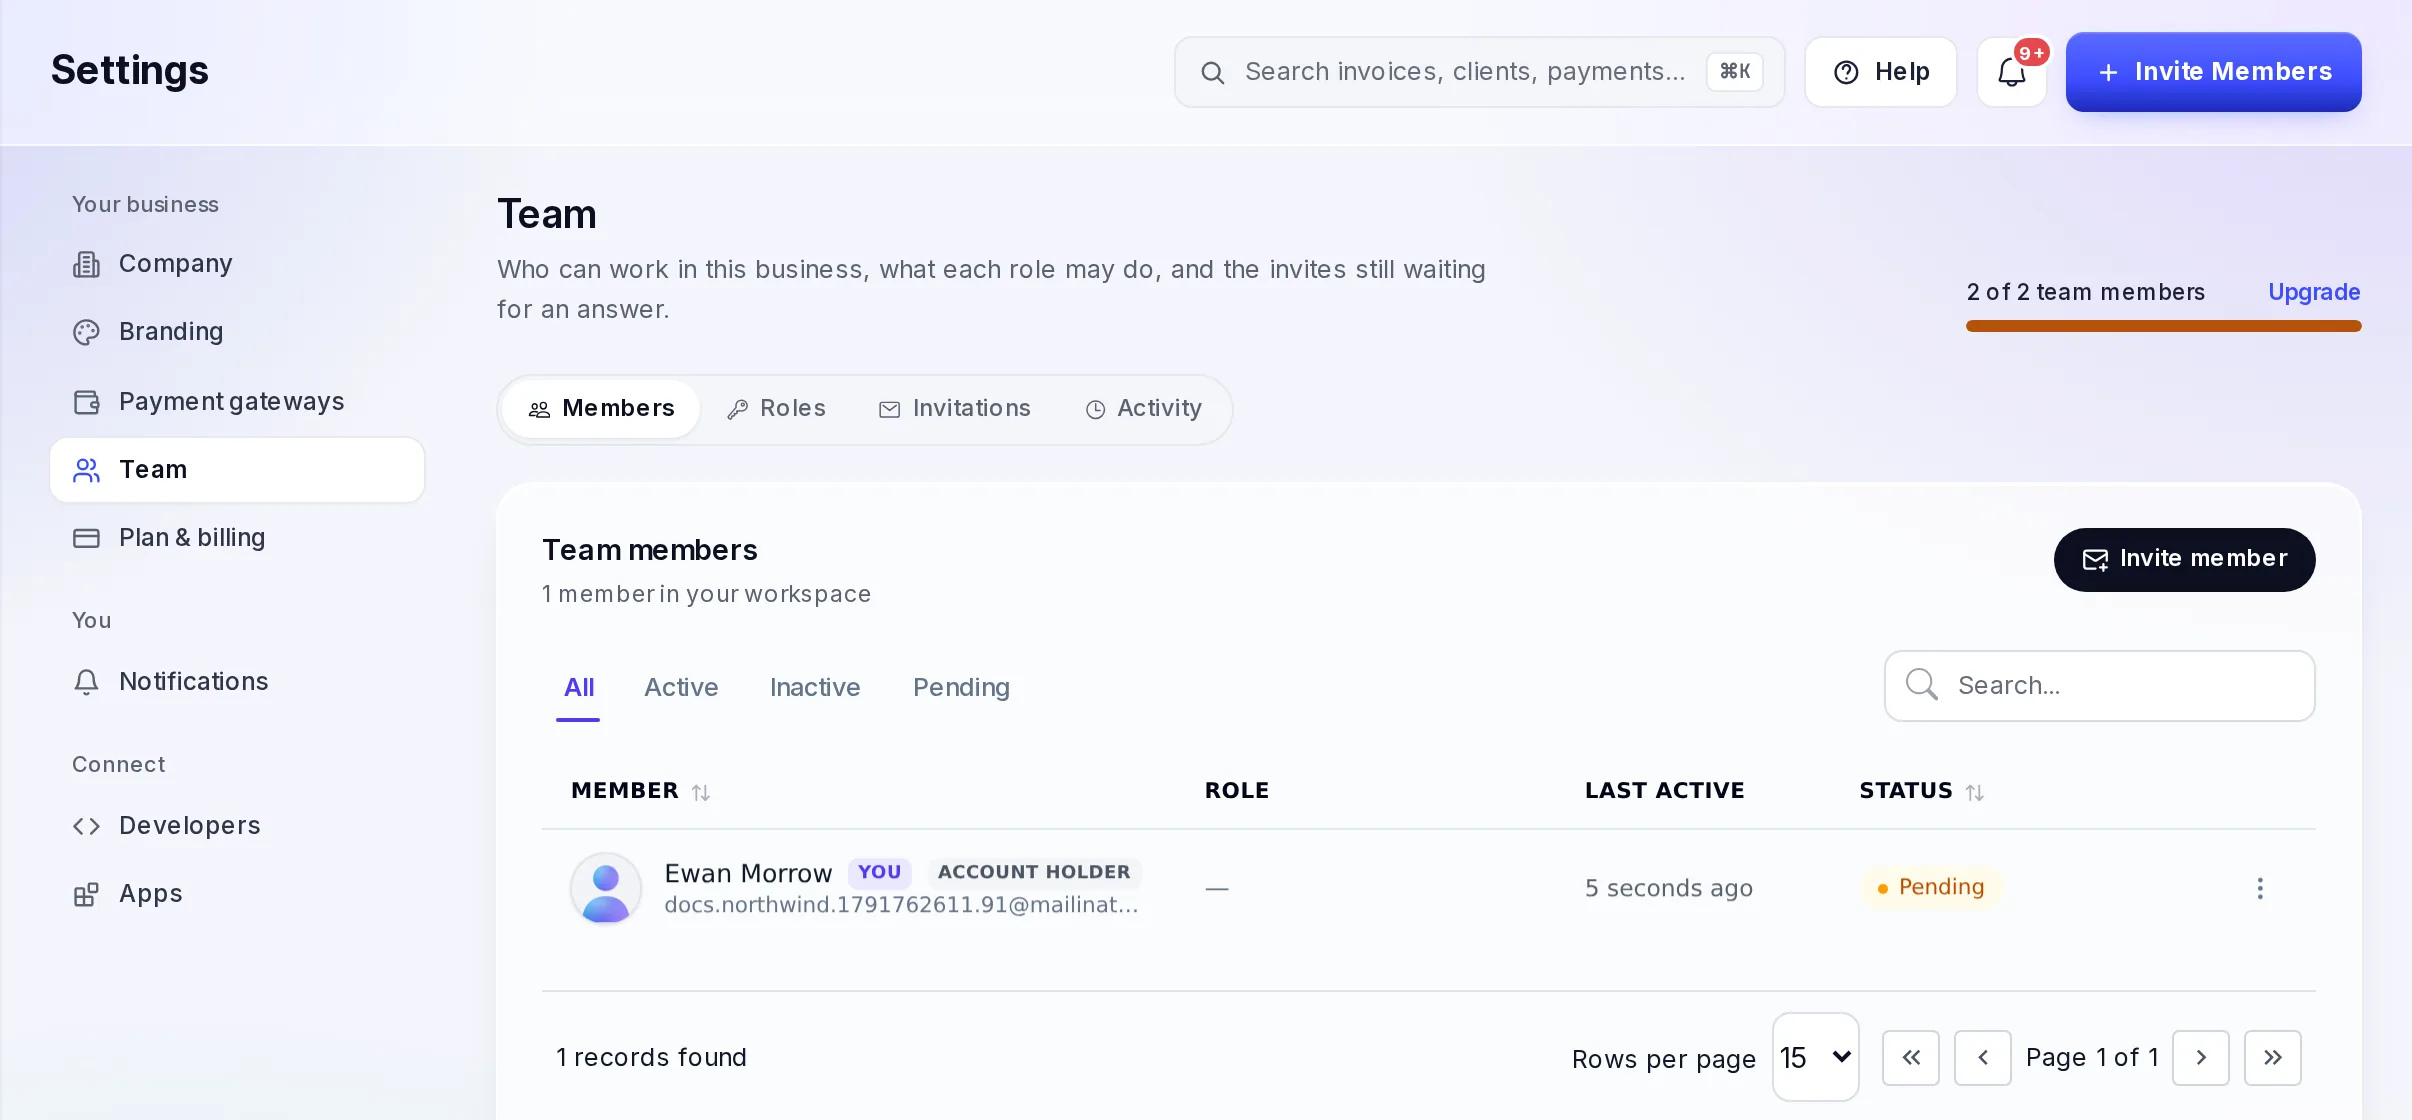
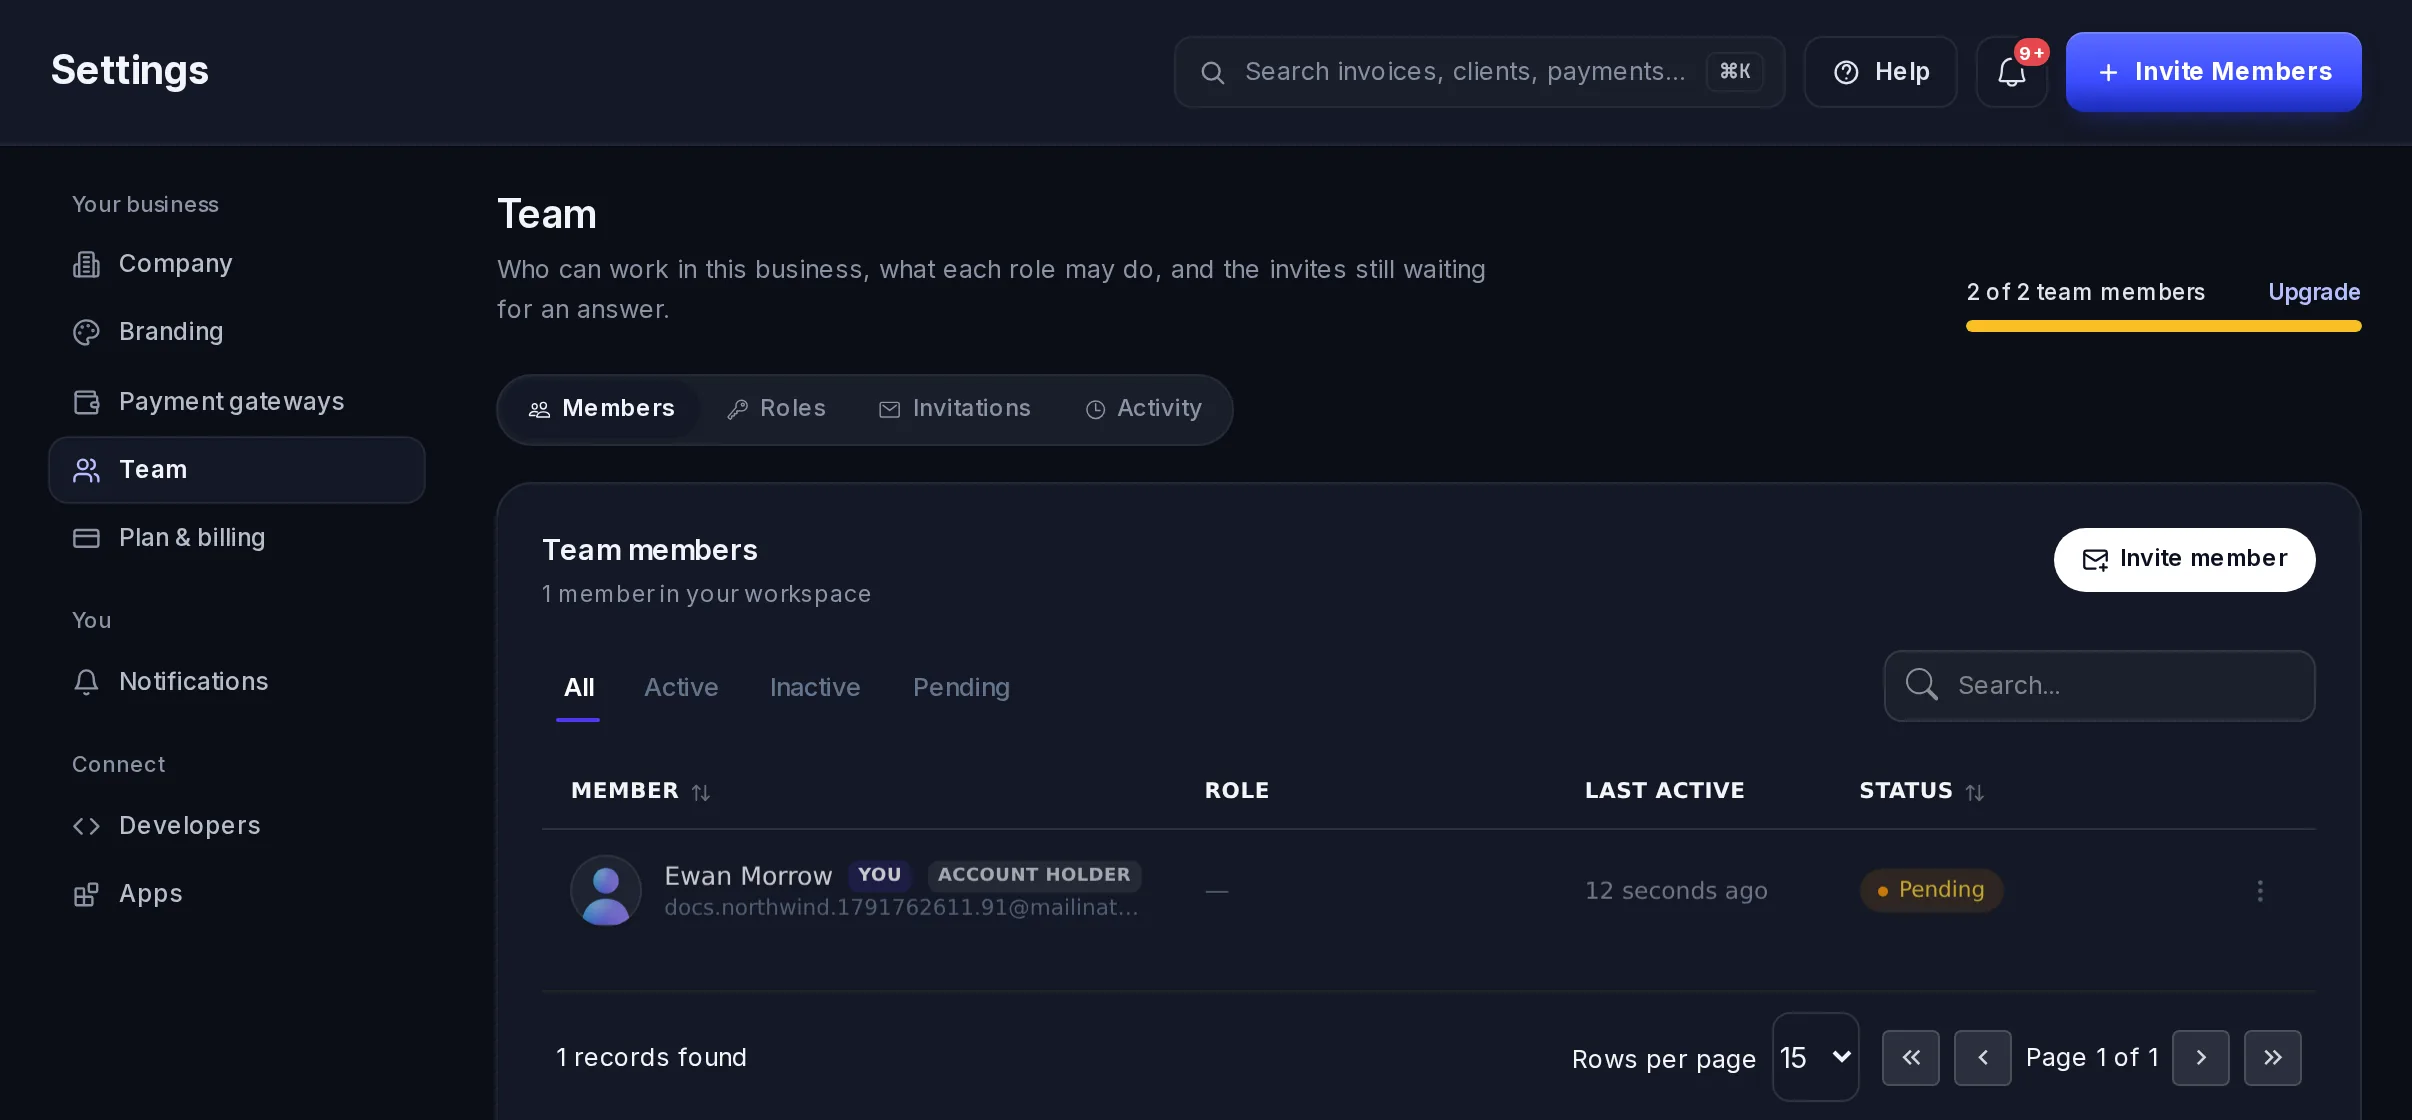
Members lists everyone on the team, with their role, when they were last active and their status. You marks your own row, and the filters show Active, Inactive or Pending members. The account holder's status can read Pending; it doesn't limit what they can do. Select the ⋮ on a row to:
- Edit: change the person's Role and their Permission overrides (extra permissions on top of the role), then select Save changes. What they can do changes at once; their menu and pages catch up the next time they sign in.
- Remove: they lose access to the business straight away and are signed out of any session they have open. What they did stays in the activity log, and you can invite them again later.
The Status switch makes a member Active or Inactive. An inactive member can't sign in until you switch them back.
You can't edit, deactivate or remove yourself or the account holder.
Invite someone
Open the form
In Settings › Team, select Invite Members at the top of the page, or Invite member on the Members or Invitations tab.
Who and what
- Email address: the person you're inviting. It must be an email that doesn't have a Vezmo account yet.
- Role: one of your roles, or No role.
- Additional permissions: anything more they need, grouped by area. Open a group to tick single permissions, or select Select all for the whole group. Search permissions finds one by name.
Pick a role, at least one permission, or both. Under the list, Effective access summary lists the permissions they'll get.
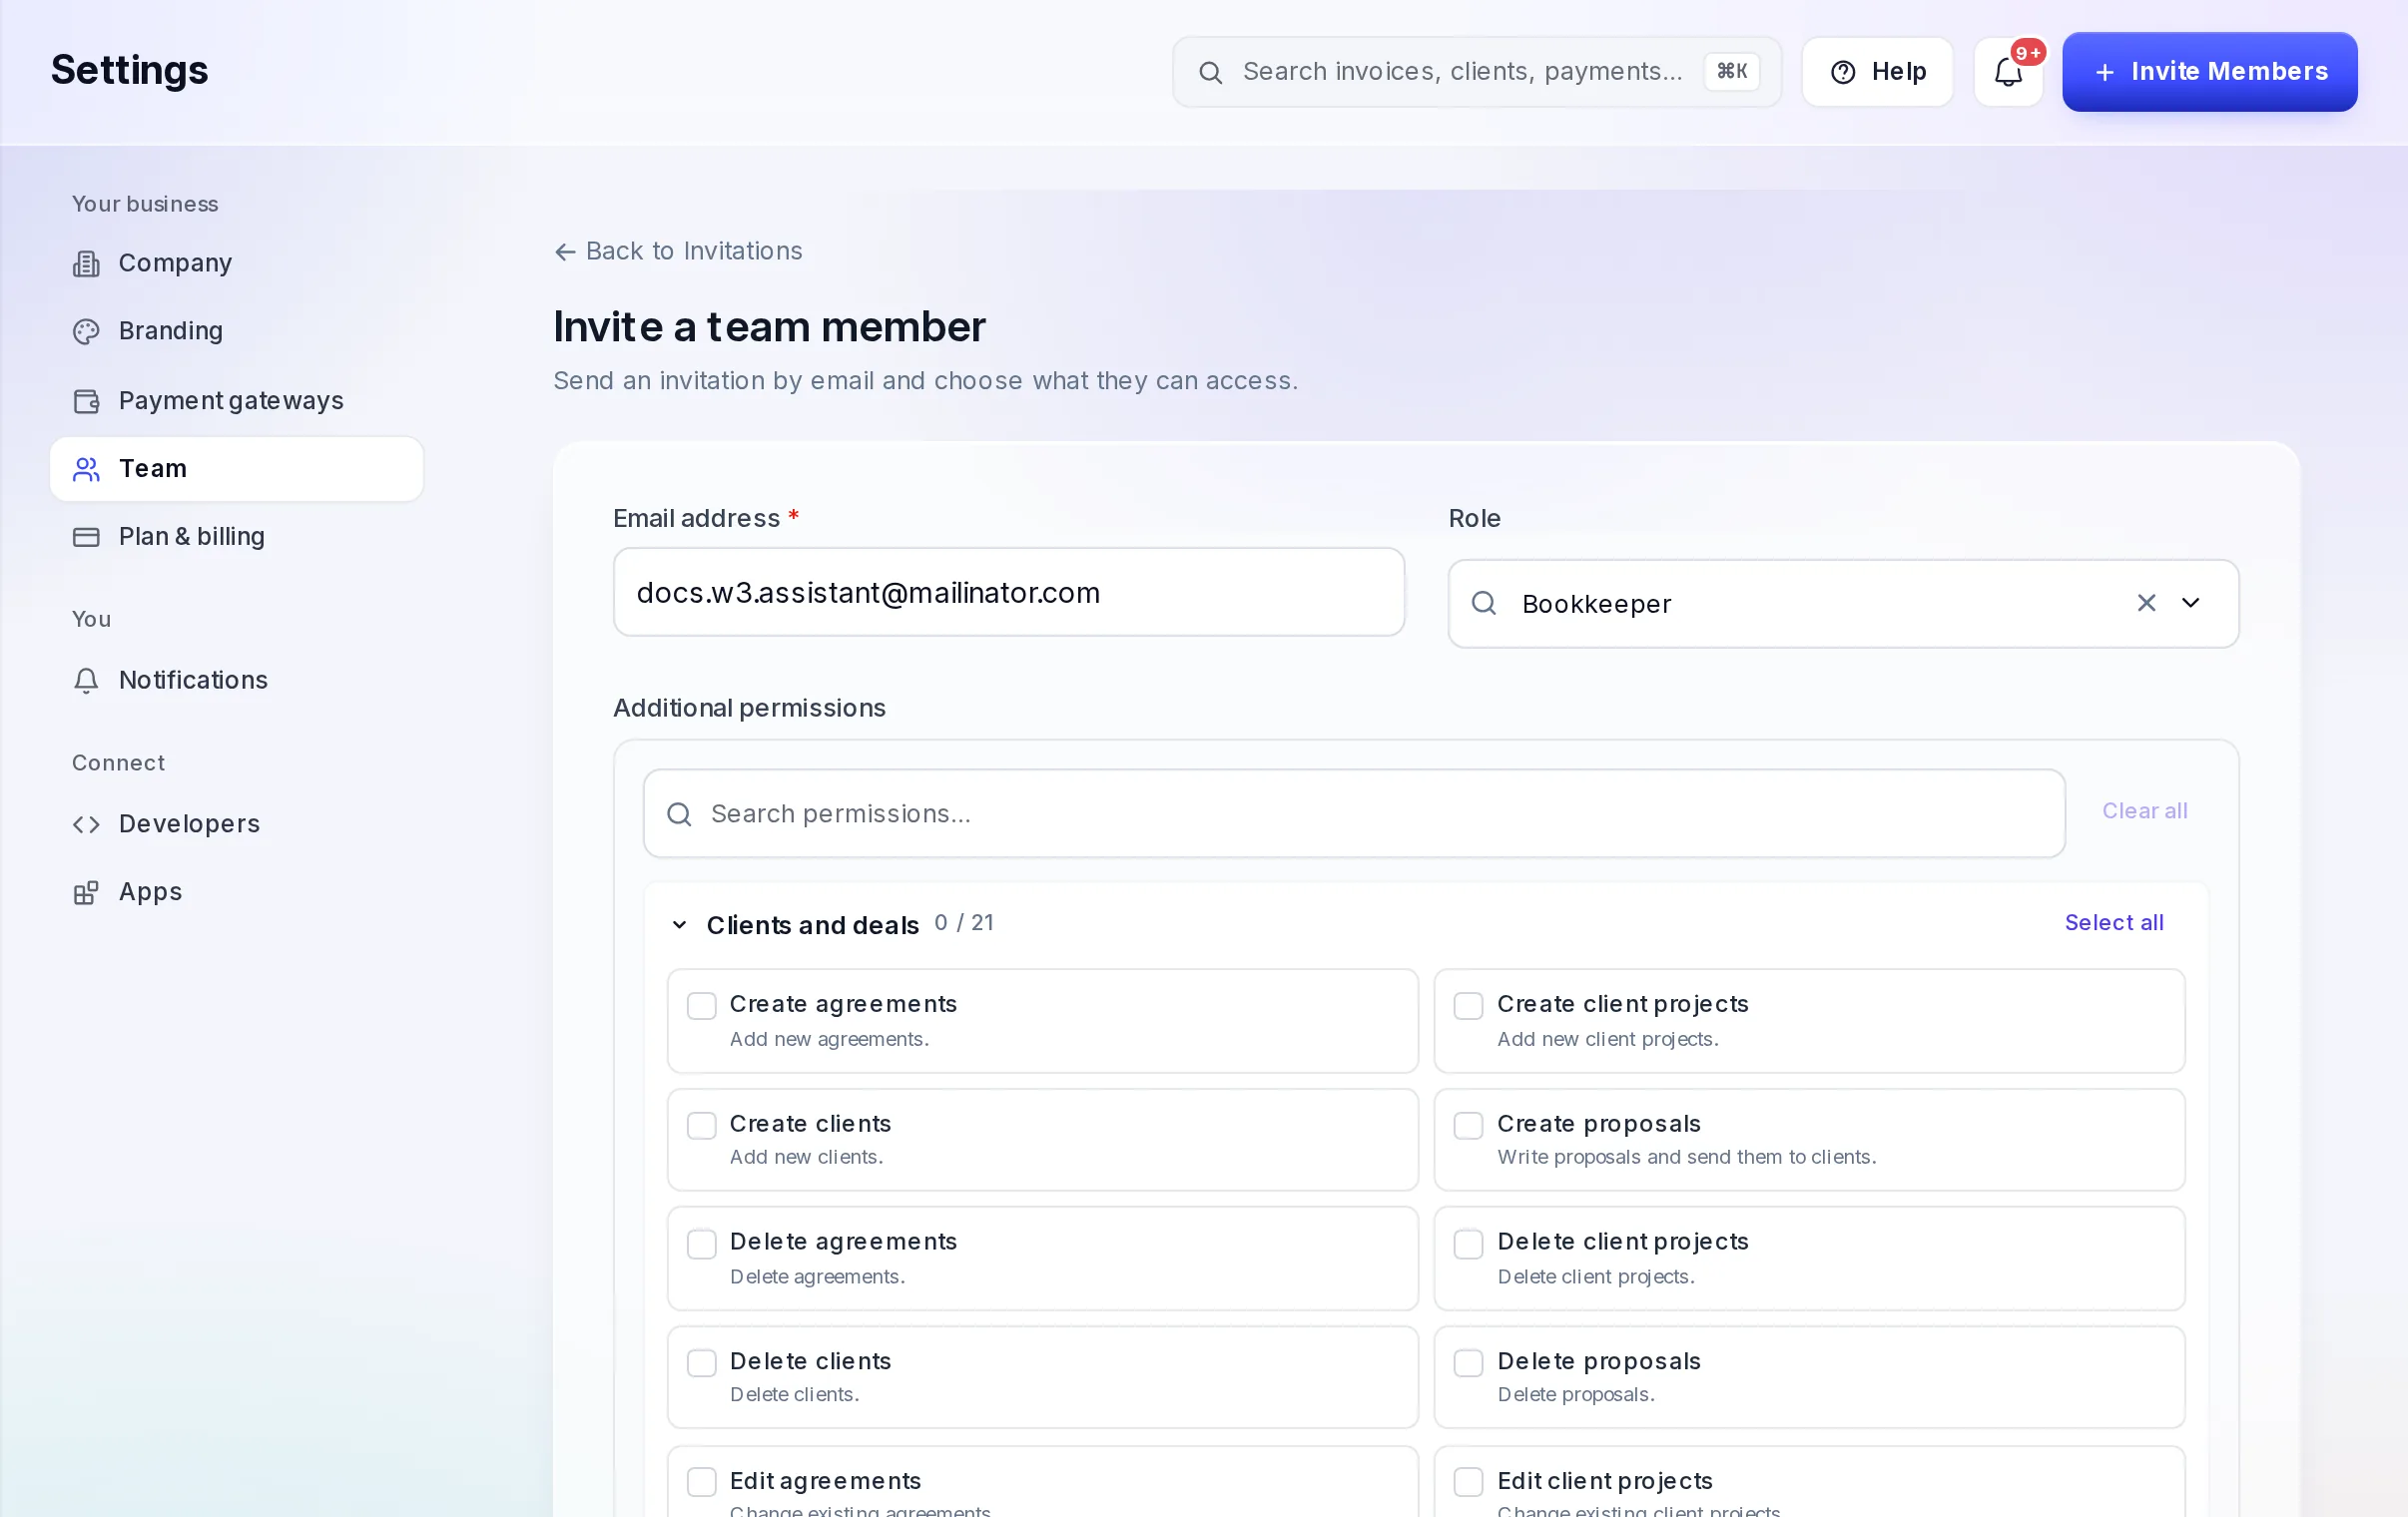
An invitation with a role, and room for extra permissions. Send it
Select Send invitation. We email them a link to join, which works for 7 days, and the invitation shows under Invitations as Pending. When they accept, they set their name and password and land in your dashboard. See Join your team from an invitation.
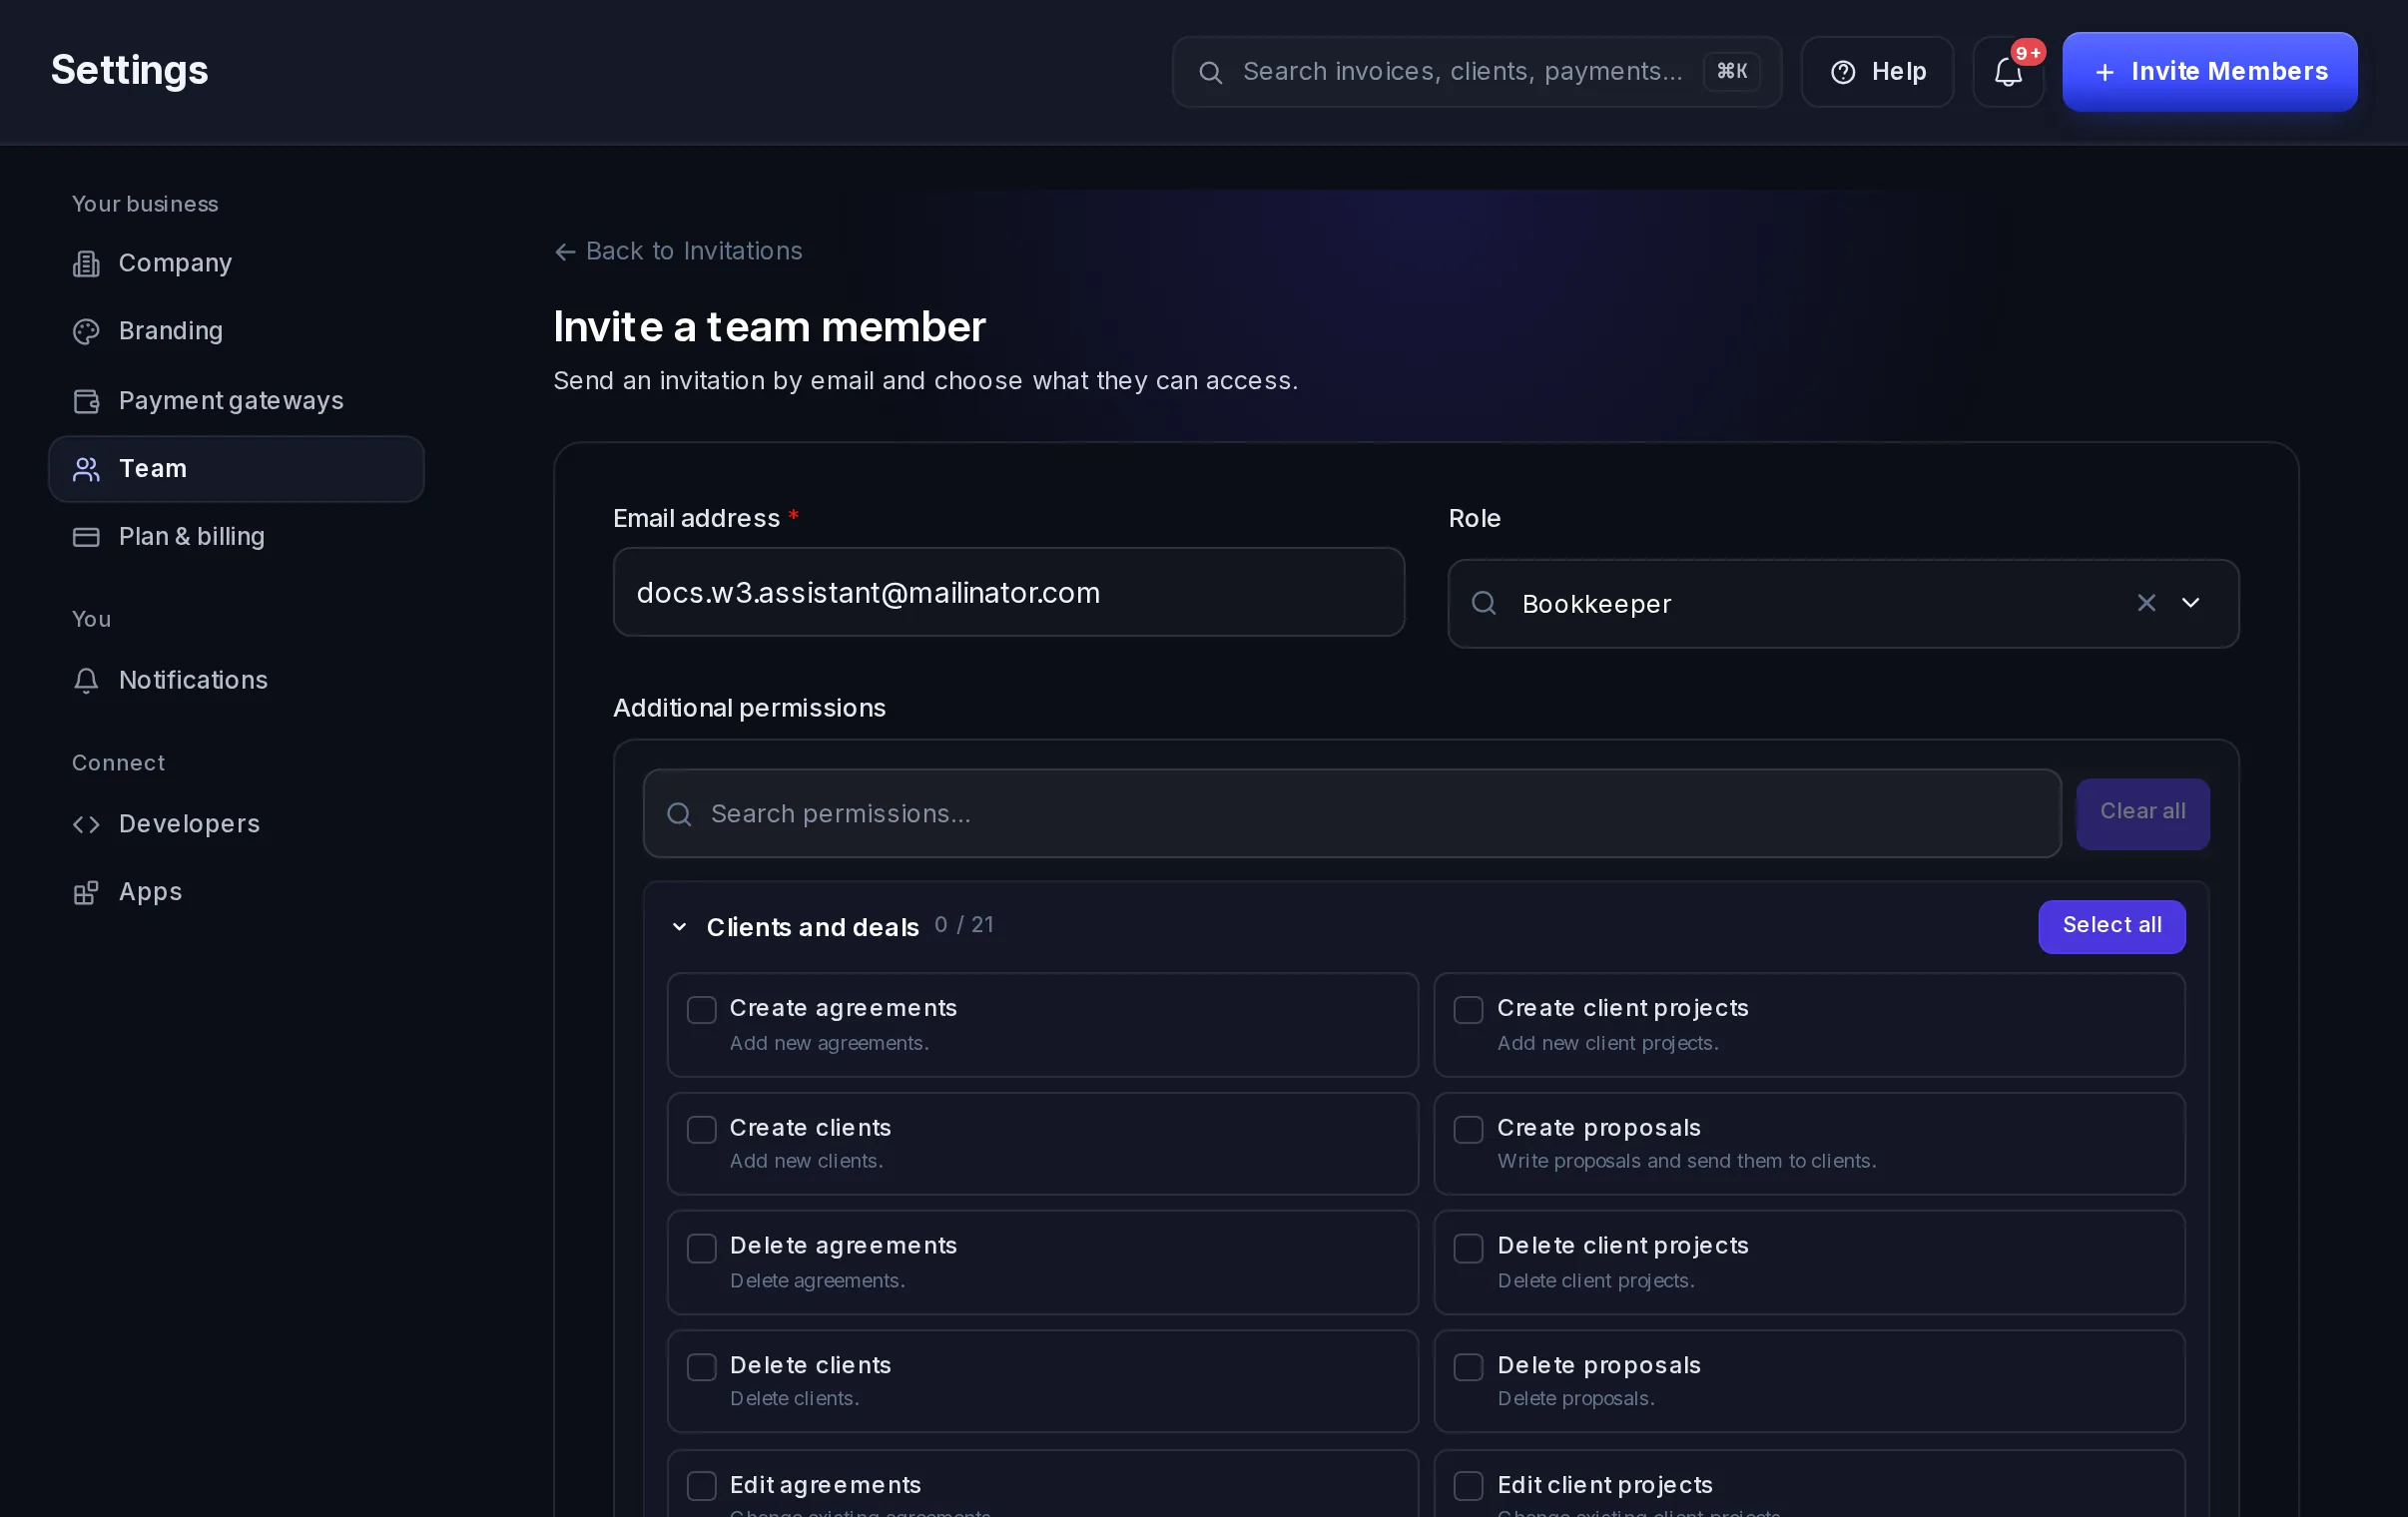
You can only give the permissions you have yourself. If the email already has a Vezmo account, the invitation is refused with A user with this email already exists: ask them for another address.
Invitations
Invitations lists your business's invitations, with the role, the status and when the link expires. The filters show one status at a time, Search finds an email or a role, and Invite member opens the invitation form.
| Status | What it means |
|---|---|
| Pending | Sent, not accepted yet. |
| Accepted | They joined. They're now in Members. |
| Revoked | You cancelled it. The link no longer works. |
On a pending invitation, select ⋮ and then:
- Resend to email a new link, which works for 7 days from then.
- Revoke to cancel it. The link stops working at once. You can invite the same person again later.
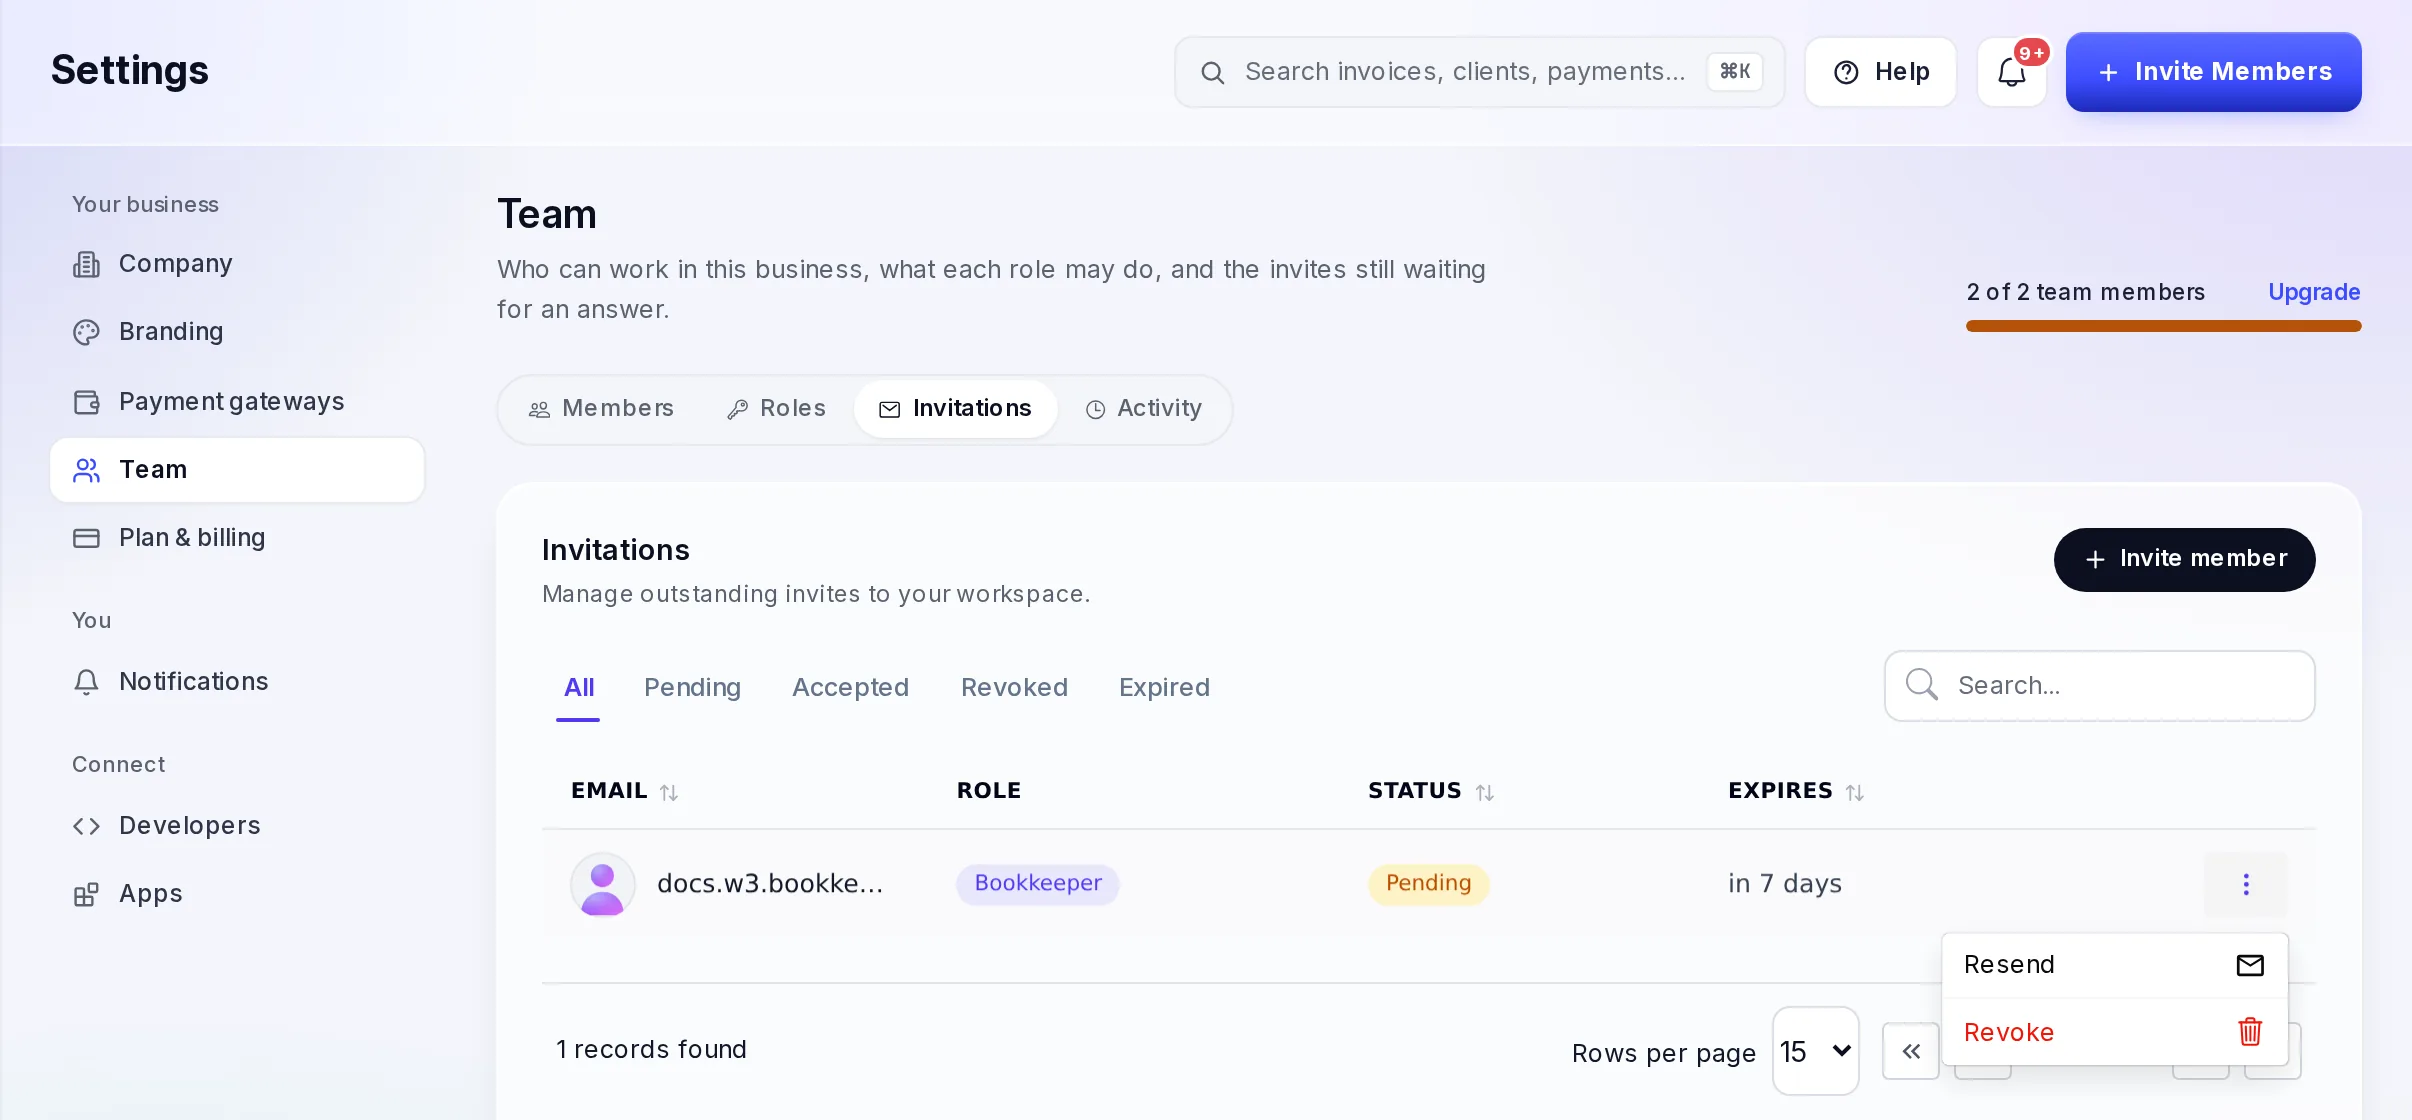
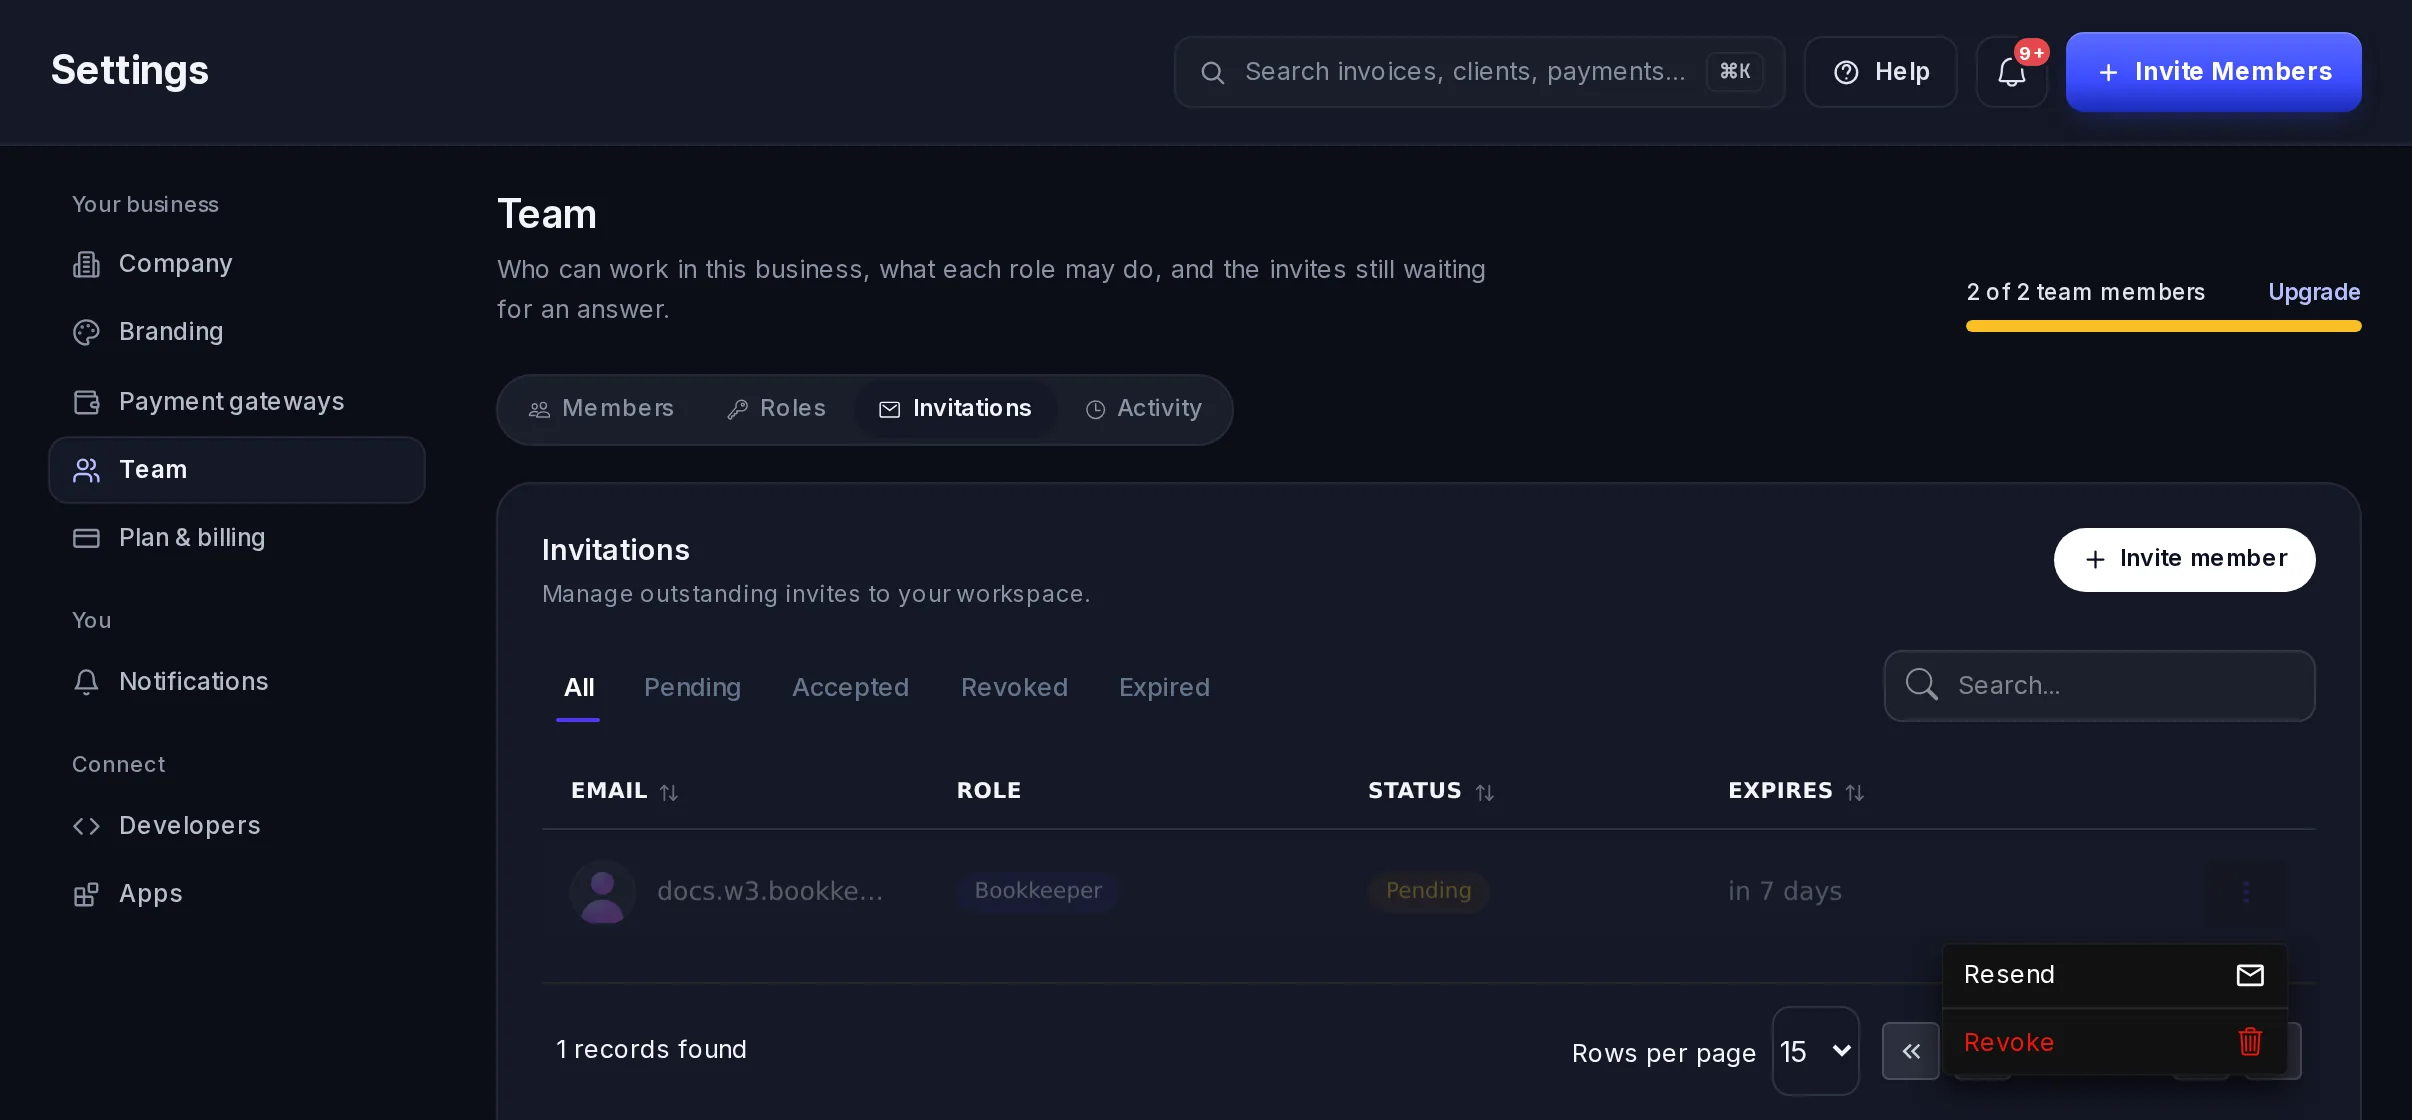
A link that has passed its 7 days shows its Expires time in red, and the invitation stays Pending (the Expired filter doesn't list it). Select Resend to send a fresh one.
Roles
A role is a set of permissions with a name, so you can give the same access to several people. The Roles tab lists your roles, their permissions and how many permissions each one has.
Add a role
Select Add a role. Give it a Role name and, if you like, a Description of what it's for.
Pick its permissions
Tick the permissions it grants, by area, as on the invitation form. You can only include permissions you have yourself.
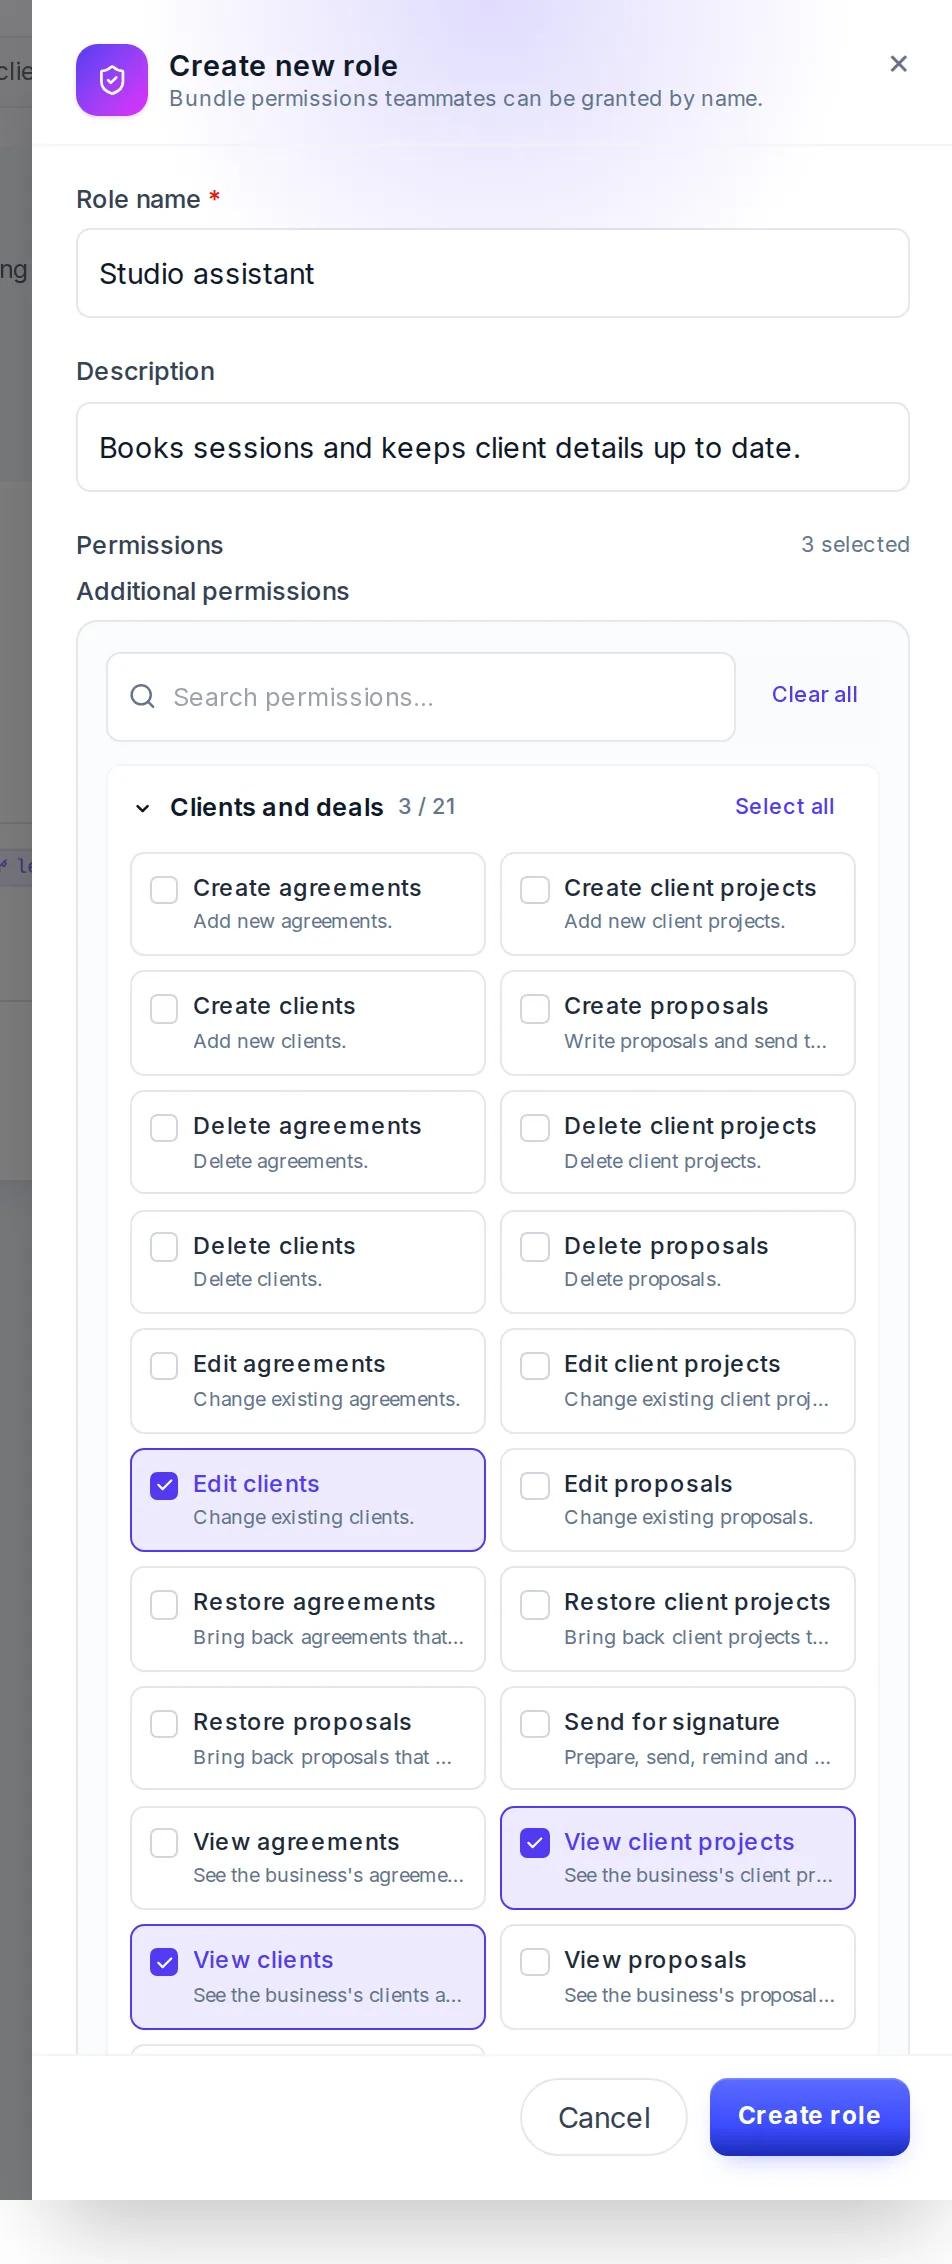
A new role and its permissions. Save it
Select Create role. It's now in the Role list when you invite someone or edit a member.
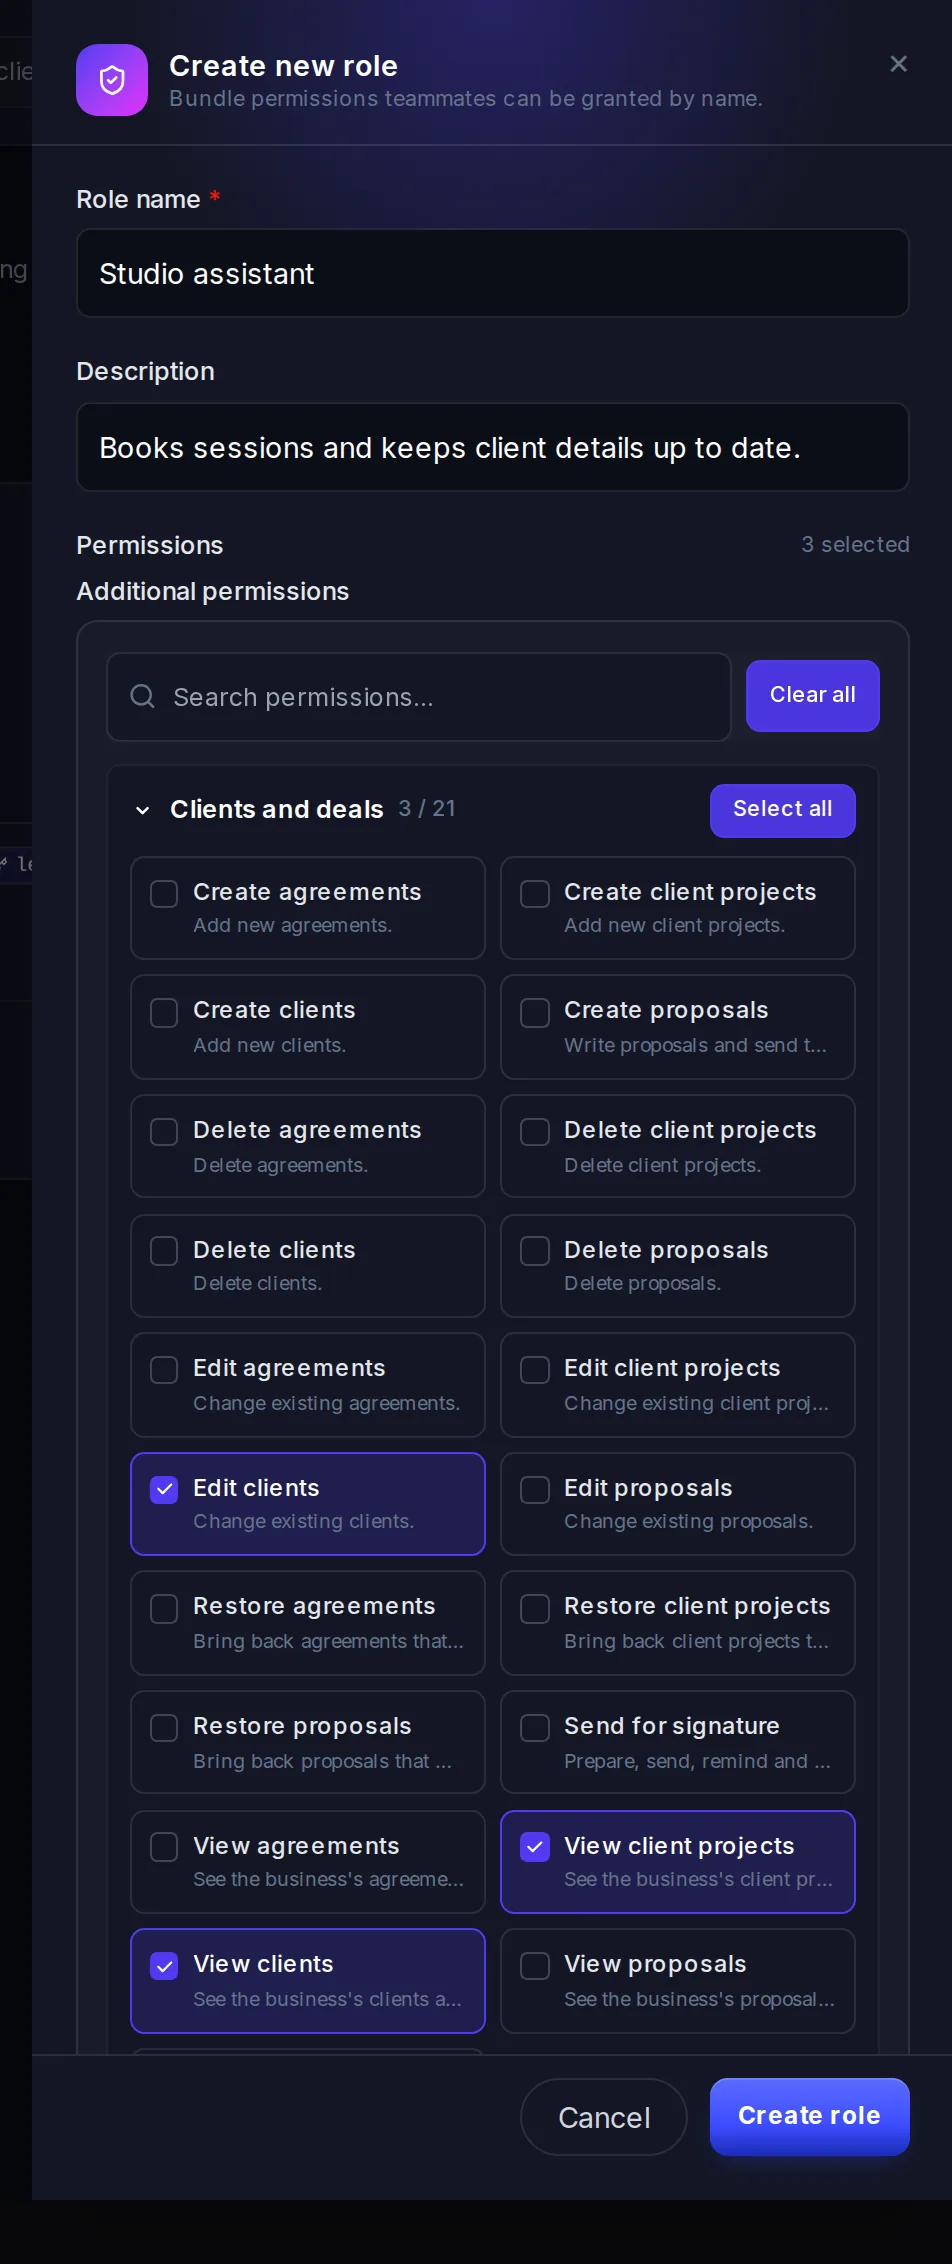
To change a role, select ⋮ on its row and Edit role; everyone who has it gets the change. Delete takes its permissions away from the members who had it, so give them another role afterwards: until you do, their row still shows the old role's name.
What each area covers
Permissions are grouped by area, on the invitation form, in roles and in Edit. Each one has a short name and a line saying what it allows.
| Area | What its permissions cover |
|---|---|
| Getting paid | Invoices, invoice designs, payments and refunds, products and their categories, and the business's plan and subscription. |
| Money | The dashboard's figures, payouts (asking for, seeing and cancelling them), payout accounts, and the books in Ledger. |
| Clients and deals | Clients, client notes, projects, proposals, agreements and e-signature requests. |
| Team and account | Seeing the team, inviting people, managing the team, business details, profiles, notifications and uploading files. |
| Developers | API keys, webhooks, the API docs and trusted websites. |
| Support | Support tickets and their messages. |
Most areas have separate permissions to view, create, edit and delete. For example, someone with View invoices but not Create invoices sees your invoices but can't send one. The menu shows each person only the pages their permissions open.
Three permissions decide who runs the team:
- View the team: see Members, Roles and Invitations.
- Invite people: send, resend and revoke invitations (together with View the team, which the form needs).
- Manage the team: edit and remove members, change their status, manage roles, and see Activity.
Activity
Activity shows what each person on your team did in the business, and what your API keys did: sending an invoice, changing a setting, creating a payment, and so on. Only people who can manage the team see it.
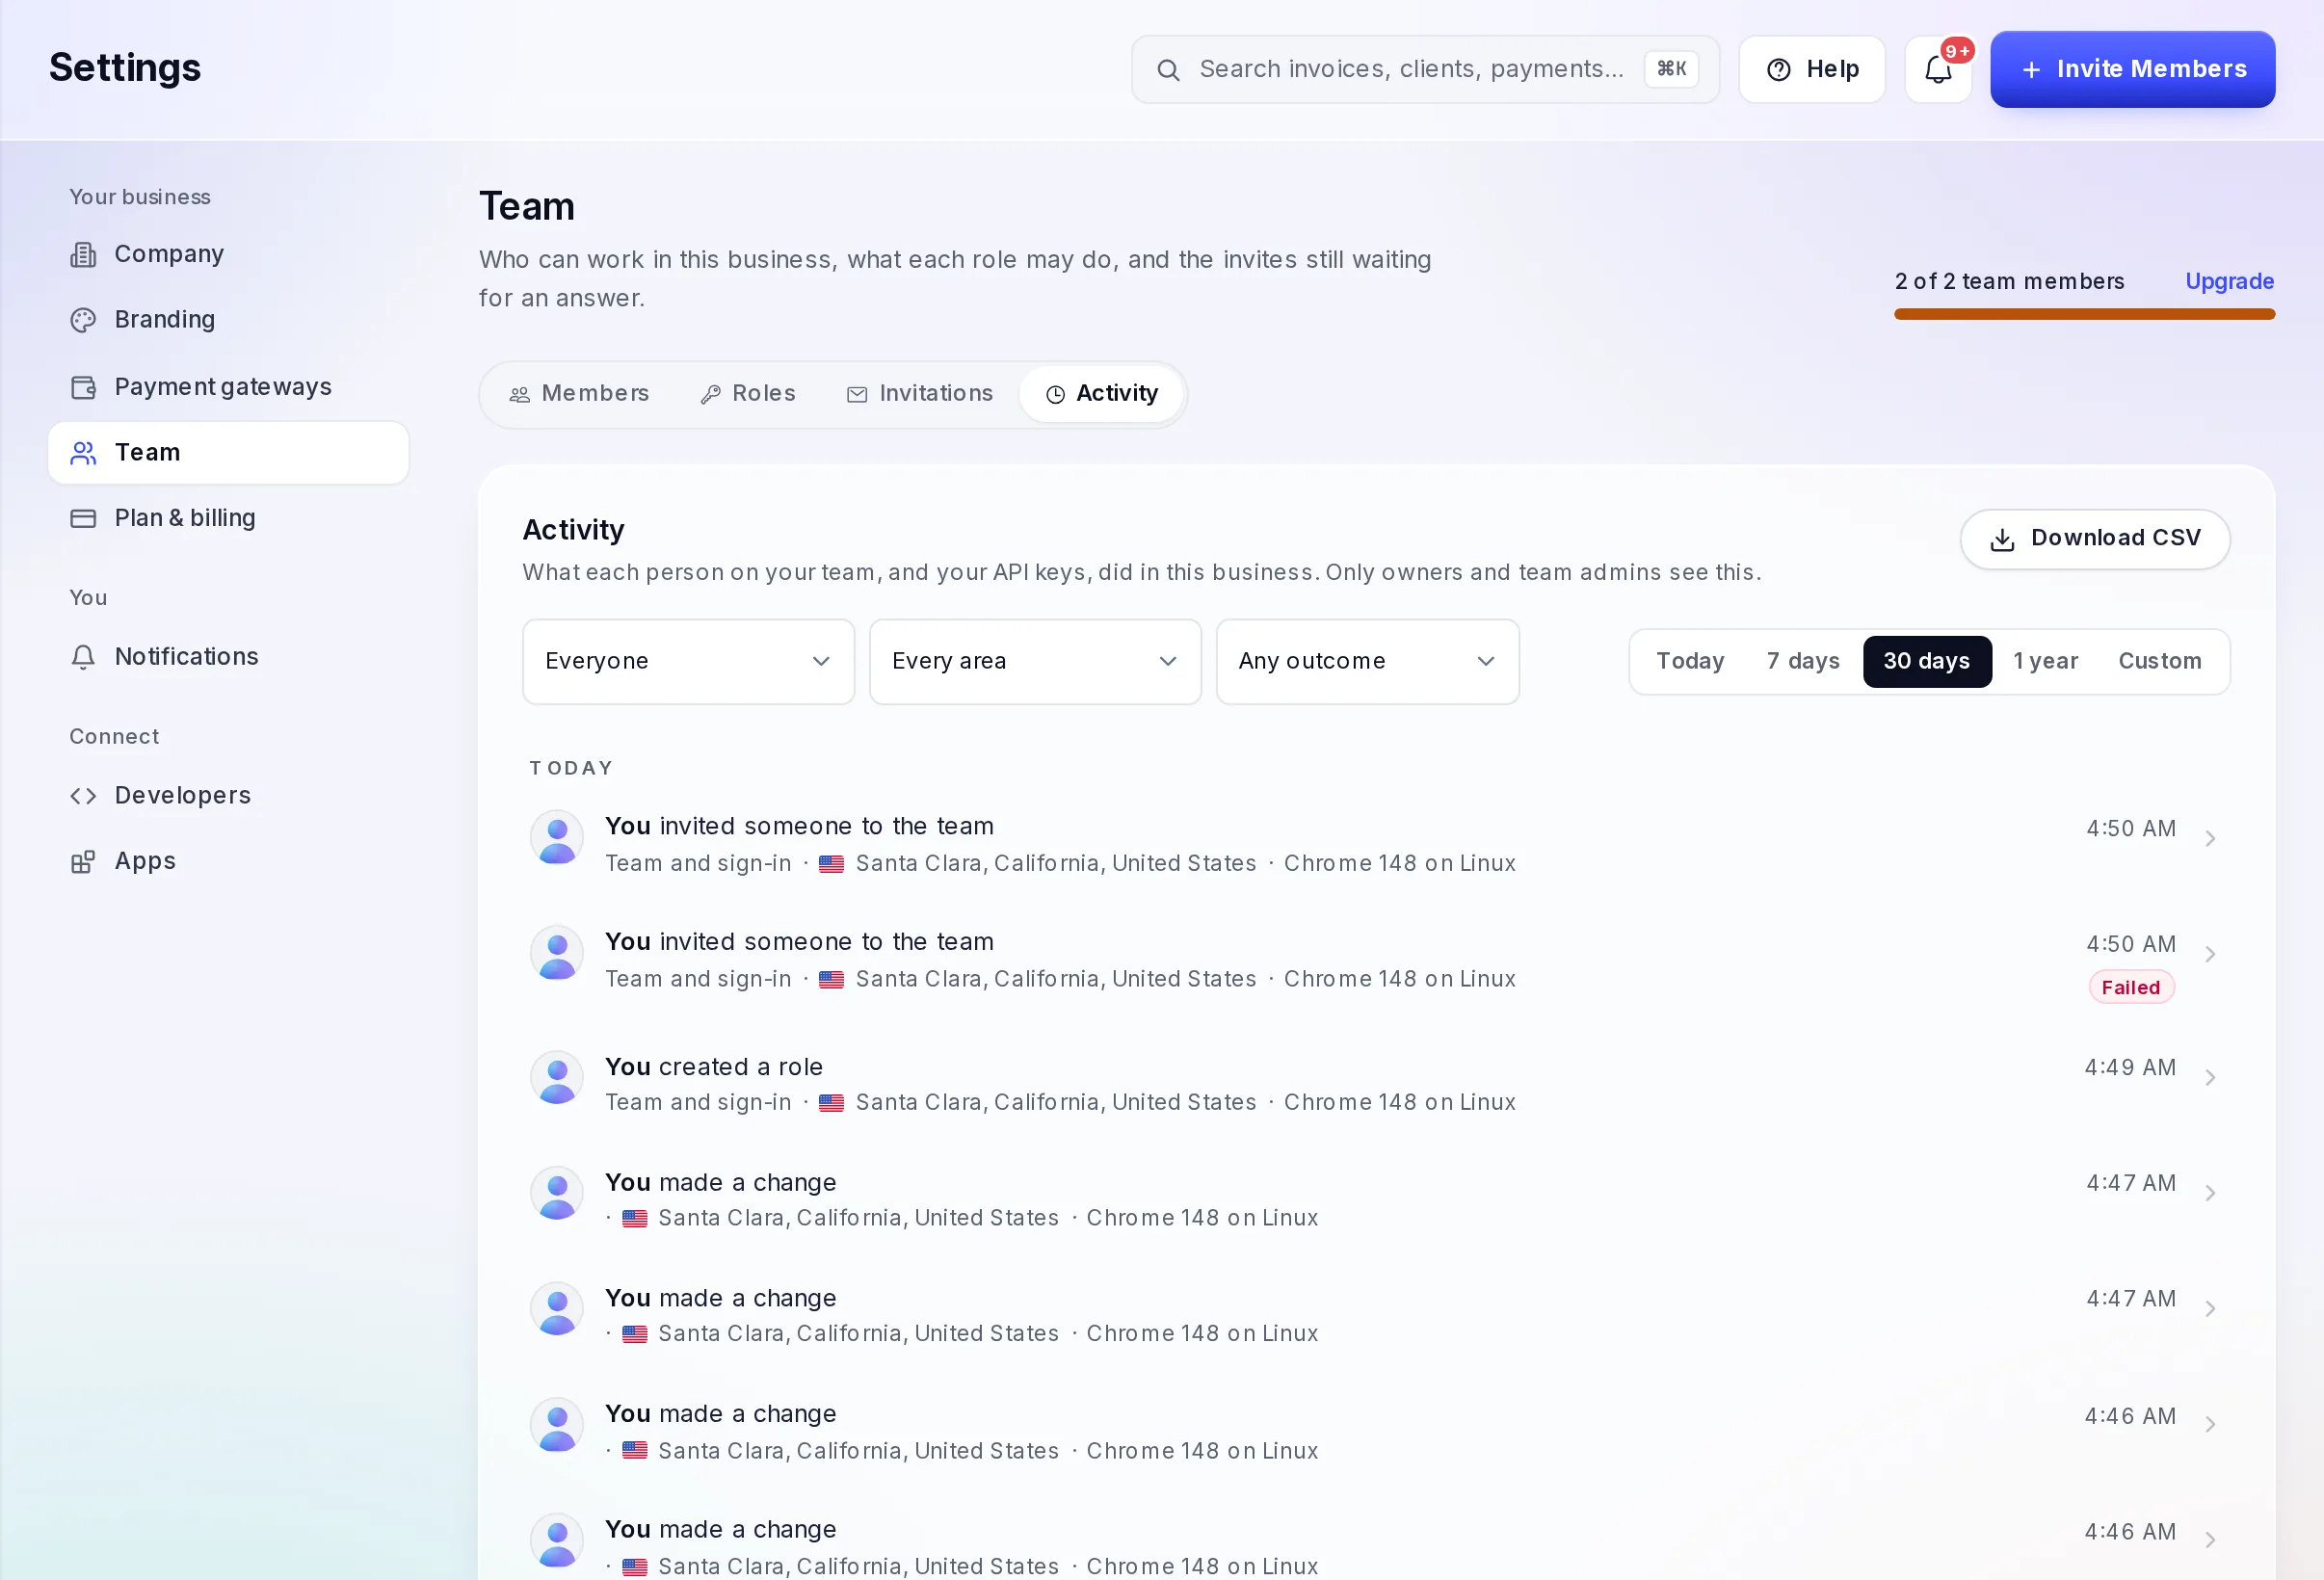
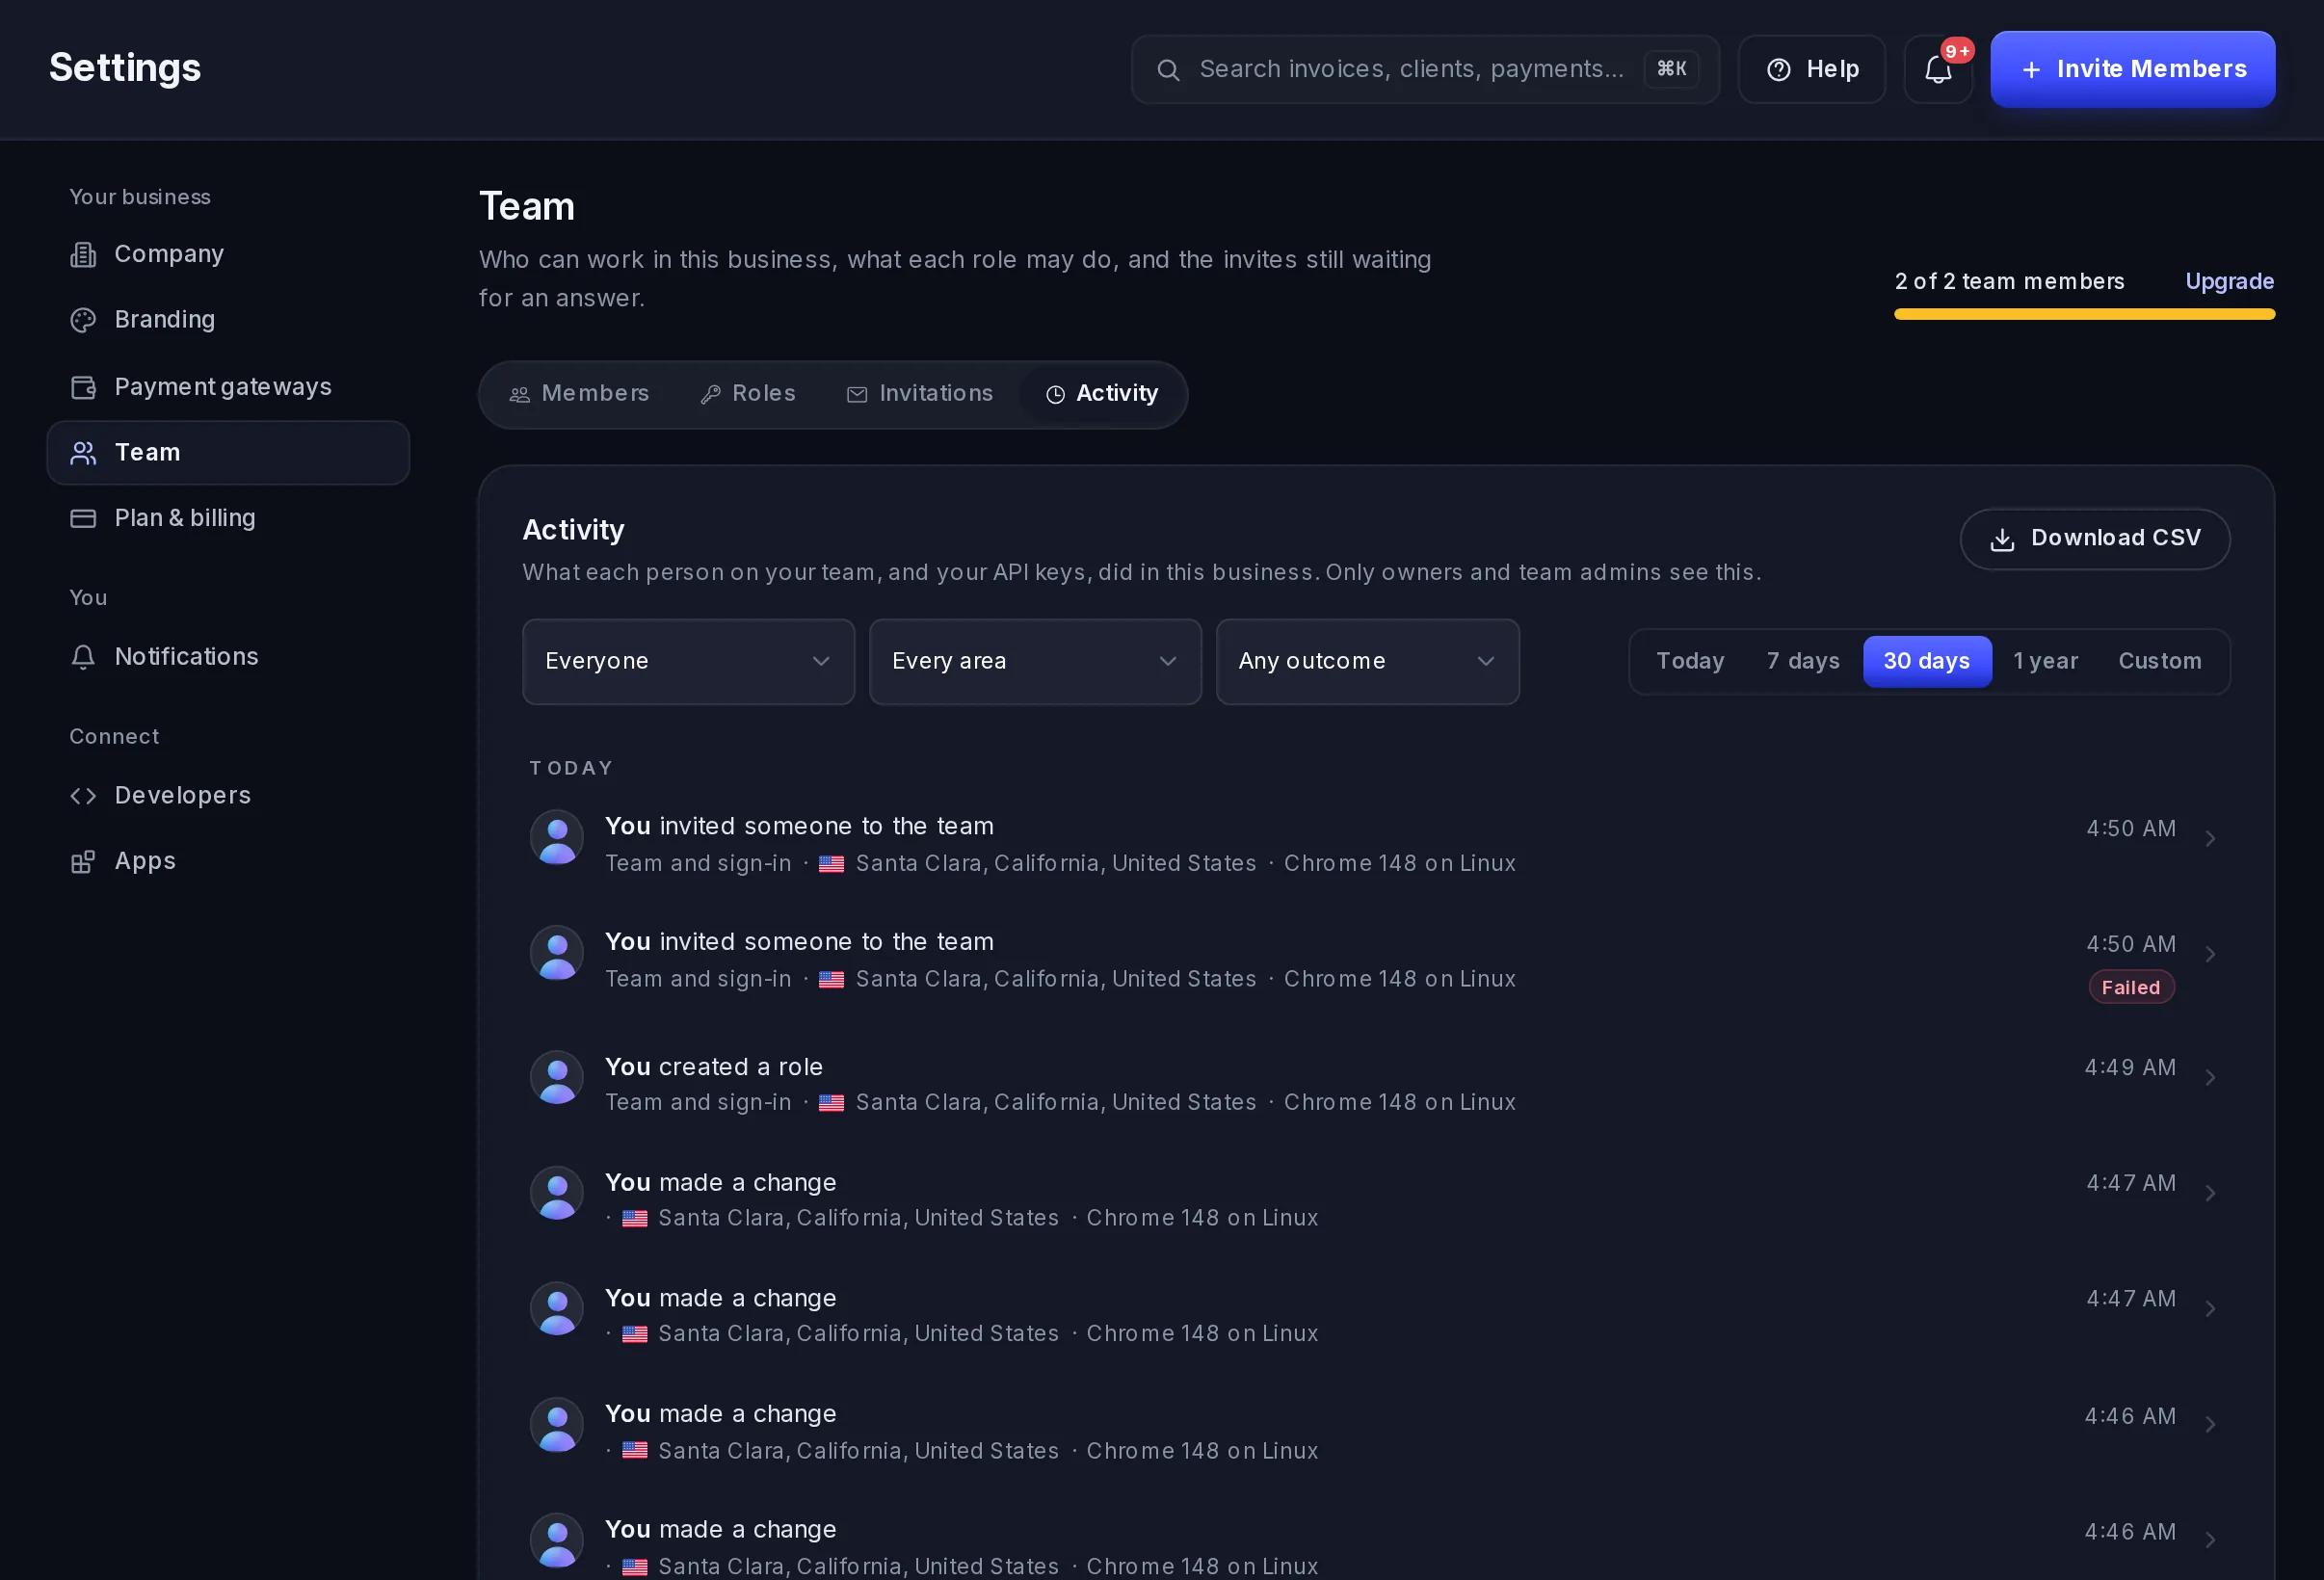
- Filter by teammate (Everyone), by area (Every area: Payments, Invoices and agreements, Customers and products, Subscriptions, Verification, Team and sign-in, Developers, Settings and more), and by outcome: Went through or Refused or failed. Choose the period on the right.
- Refused means Vezmo stopped it, because the person didn't have permission or a limit applied: nothing changed. Failed means it didn't go through.
- Select a row for its details: when, the area, the teammate it concerned, a reference, the IP address, an approximate location worked out from it, and the device.
- Download CSV saves the list as filtered, up to 100,000 rows. The download is recorded in the list too.
Questions
Can I make someone else the account holder?
Not from the dashboard.
Someone left. How do I stop their access?
Open Members, select ⋮ on their row and Remove. They're signed out straight away. To pause access instead, switch their Status to Inactive.
Why can't I give a permission?
You can only give what you have yourself, and no one can have more than the account holder. Ask someone who has that permission to give it.
I was invited but I already have a Vezmo account
An invitation can only go to an email that has no Vezmo account yet. Ask for the invitation to go to another address.
Related
- Open your account and sign in
- Plans and billing
- Notifications: each teammate chooses their own emails.
Facts checked against the product on 9 Nov 2026.
Was this page helpful?
Agreements and e-signatures
Send a contract to sign online, check each signer's ID with a live photo and selfie, and approve every signer before the agreement is complete.
Your ledger
Your books in Vezmo, filled in for you as you get paid, plus the income and expenses you record yourself, voiding a mistake, importing entries from a spreadsheet, exporting a report, the categories and the Reports tab.